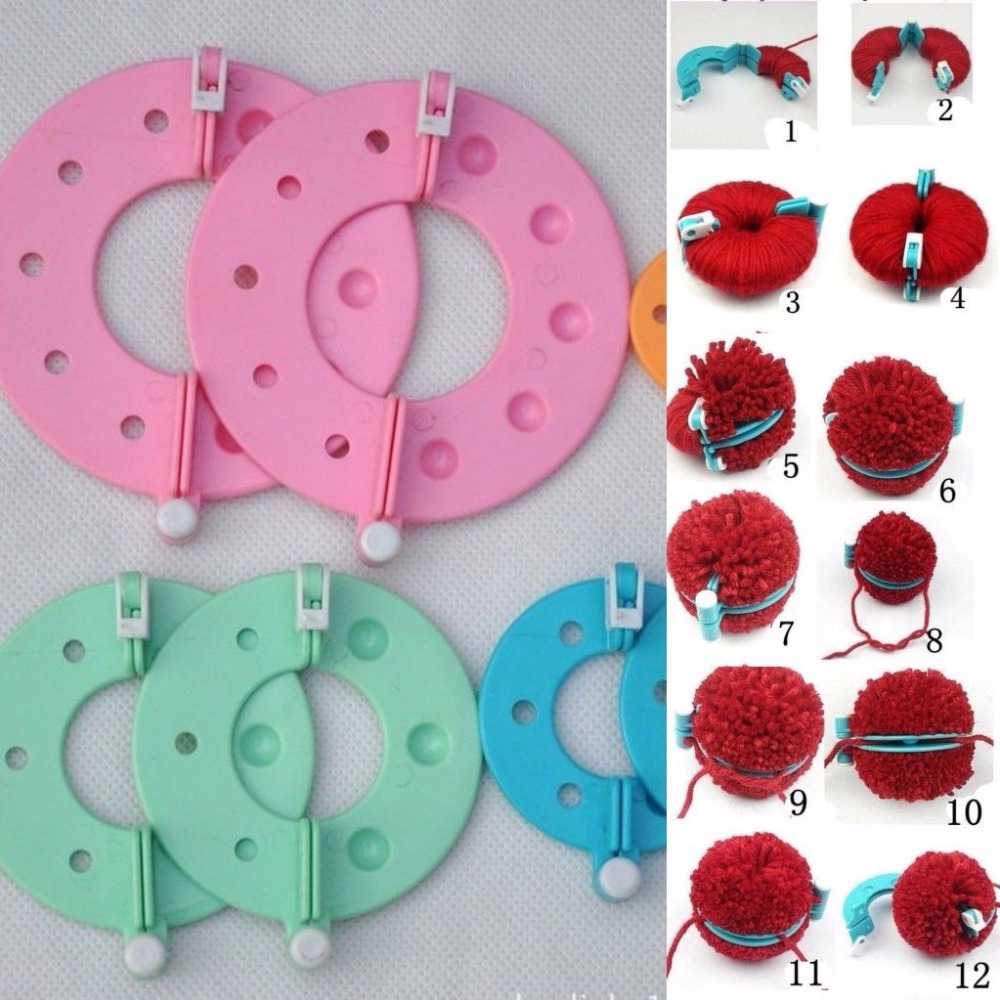
When I was seven my grandmother gave me a pom pom kit. The kit contained semi-circular plastic pieces that clipped together to make a ring that you wrapped yarn around. It looked just like the one pictured below. And you can see on the right are the step-by-step instructions to make perfect pom poms.
I LOVED this! I remember making pom poms by the hour. I even glued them together and made pom pom rabbits, cats and caterpillars. I’m pretty sure that I gifted these creatures to anyone who would take one.
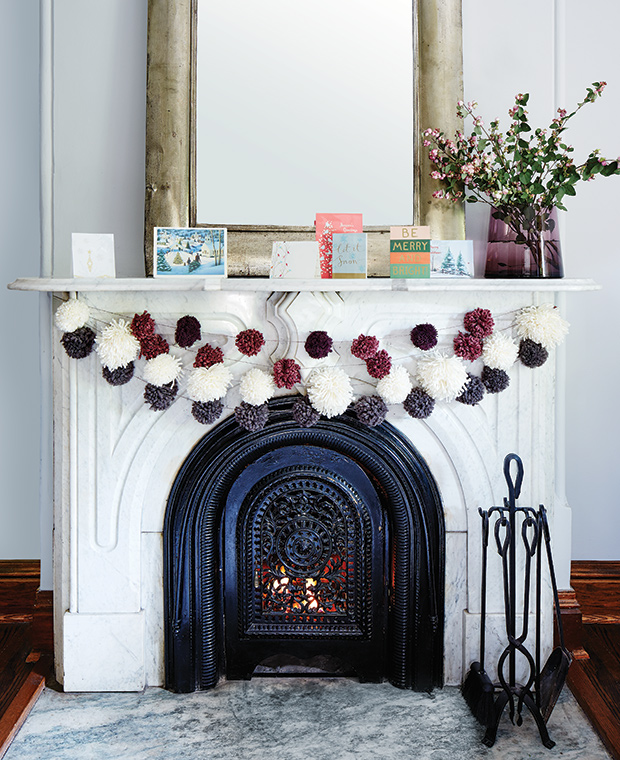
I had been looking for something to hang above the bed of my youngest daughter. When I saw this photo on House & Home’s Instagram feed my inner 7-year-old-self squealed with delight and I knew I my search was over!
Since my own pom pom kit has long since disappeared, a quick internet search revealed oodles of tutorials for making the perfect fluffy pom pom. I decided to use this one since it closely resembled the one I had used as a child.
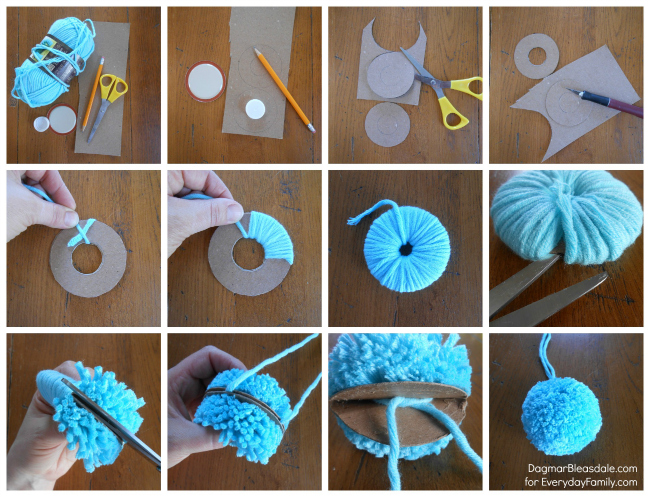
But when I sat down to actually start crafting, this method proved to be more labour and time intensive that I wanted. I guess I had more time on my hands when I was seven. What I really wanted was to make lots of fat, fluffy pom poms quickly. I had planned to make this garland while I visited with a friend. As a first rate crafter herself, my friend suggested I just cut a paper towel tube in half and wrap the yarn around that and then tie it in the middle. Brilliant! Where was she when I was a child meticulously wrapping my yarn around small plastic rings??
Here’s a tutorial showing the same method:
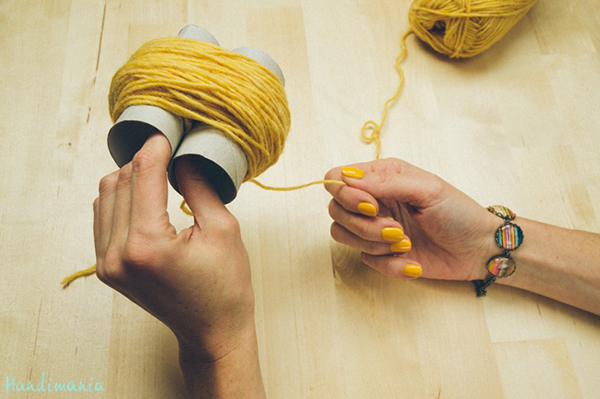
To make smaller pom poms I wrapped the yarn around two fingers and then just slipped a piece of yarn in between to tie it in the middle. After that I could easily take the ball of yarn off my fingers and cut the loops to form the pom pom. That worked okay but the good people of Handimania thought of a better way- using a fork!
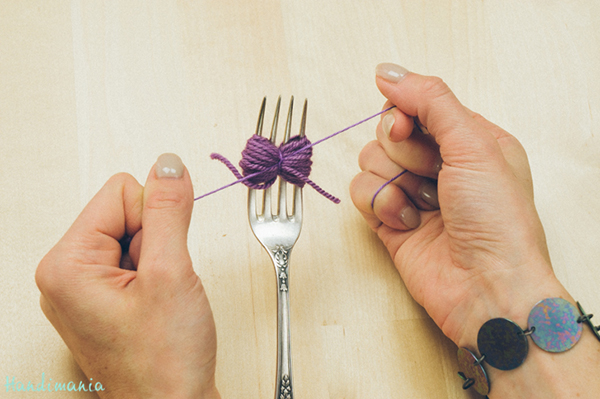
You can read the full tutorial here.
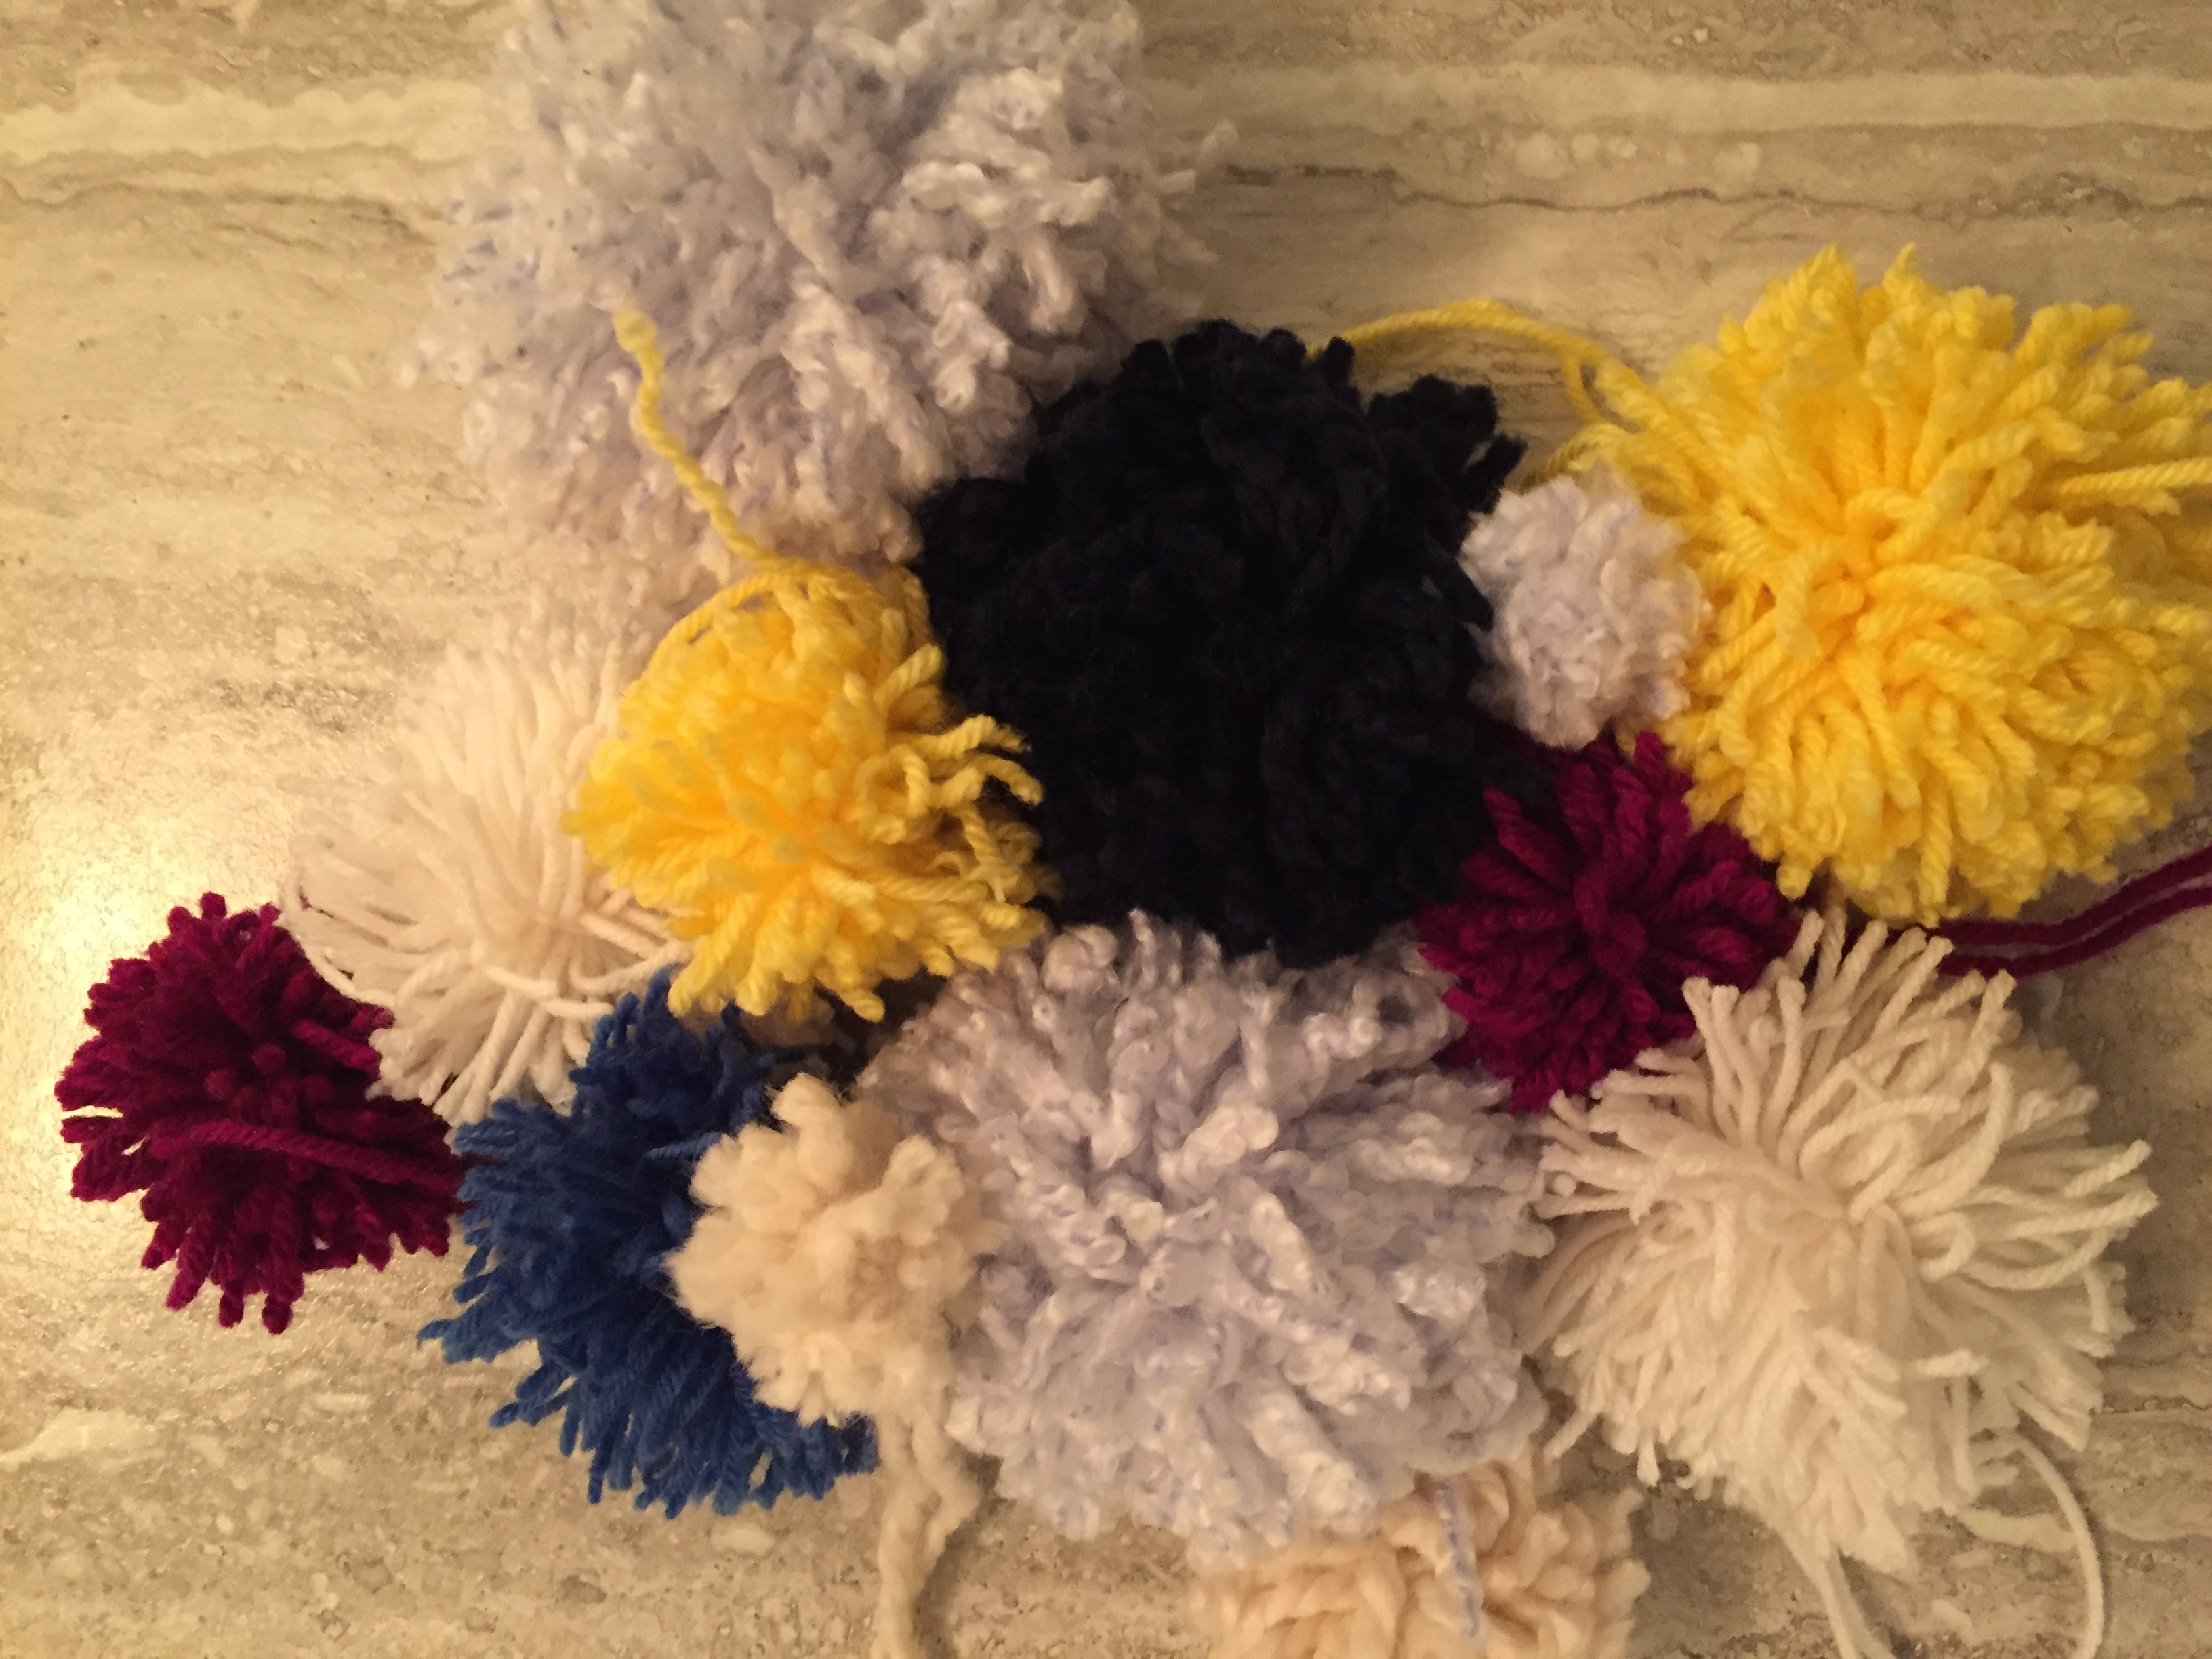
So an hour (and a couple of glasses of wine) later I had a pile of fun and fluffy pom poms.
To finish this project (I feel bad actually calling it a project – it was so easy!) I used an embroidery needle and threaded the pom poms on a piece of yarn. Then I attached the garland to the wall with a couple of clear mini 3M Command Hooks and I was done!
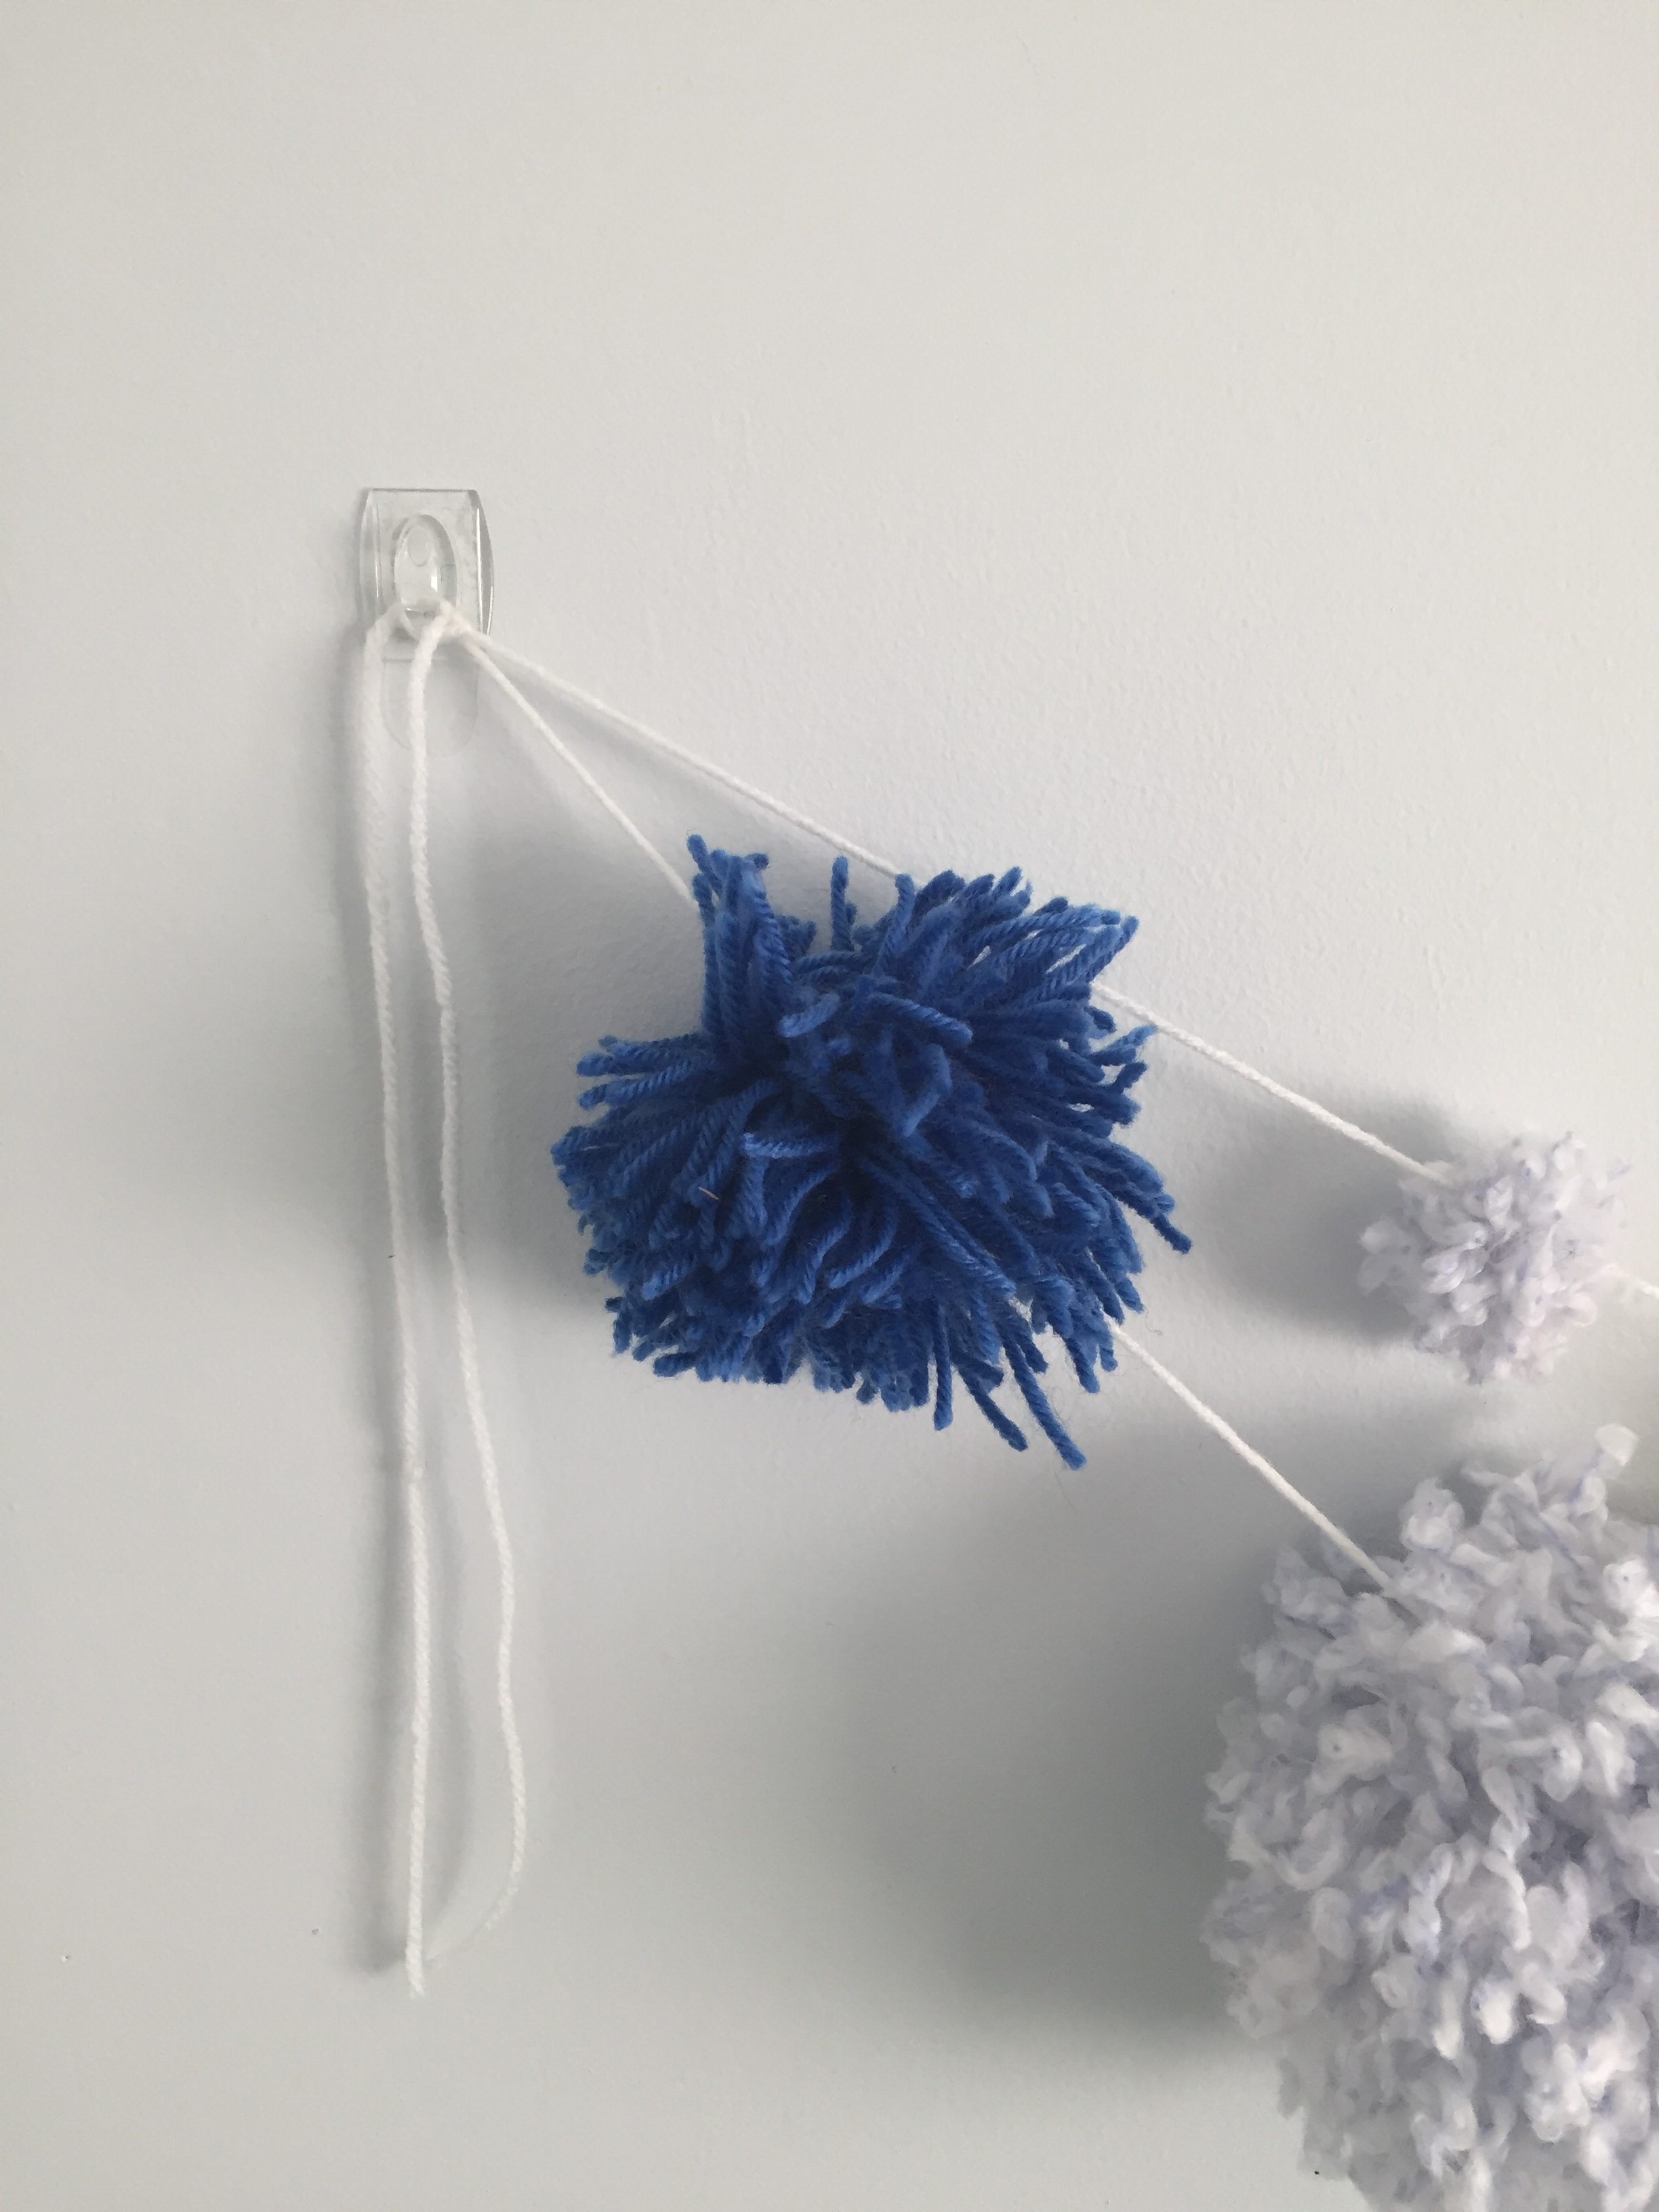
I slid the pom poms on the end up to cover the hook – even though they’re clear you can still see them. I also thought that this may deter small hands from trying to hang other things from the hooks!
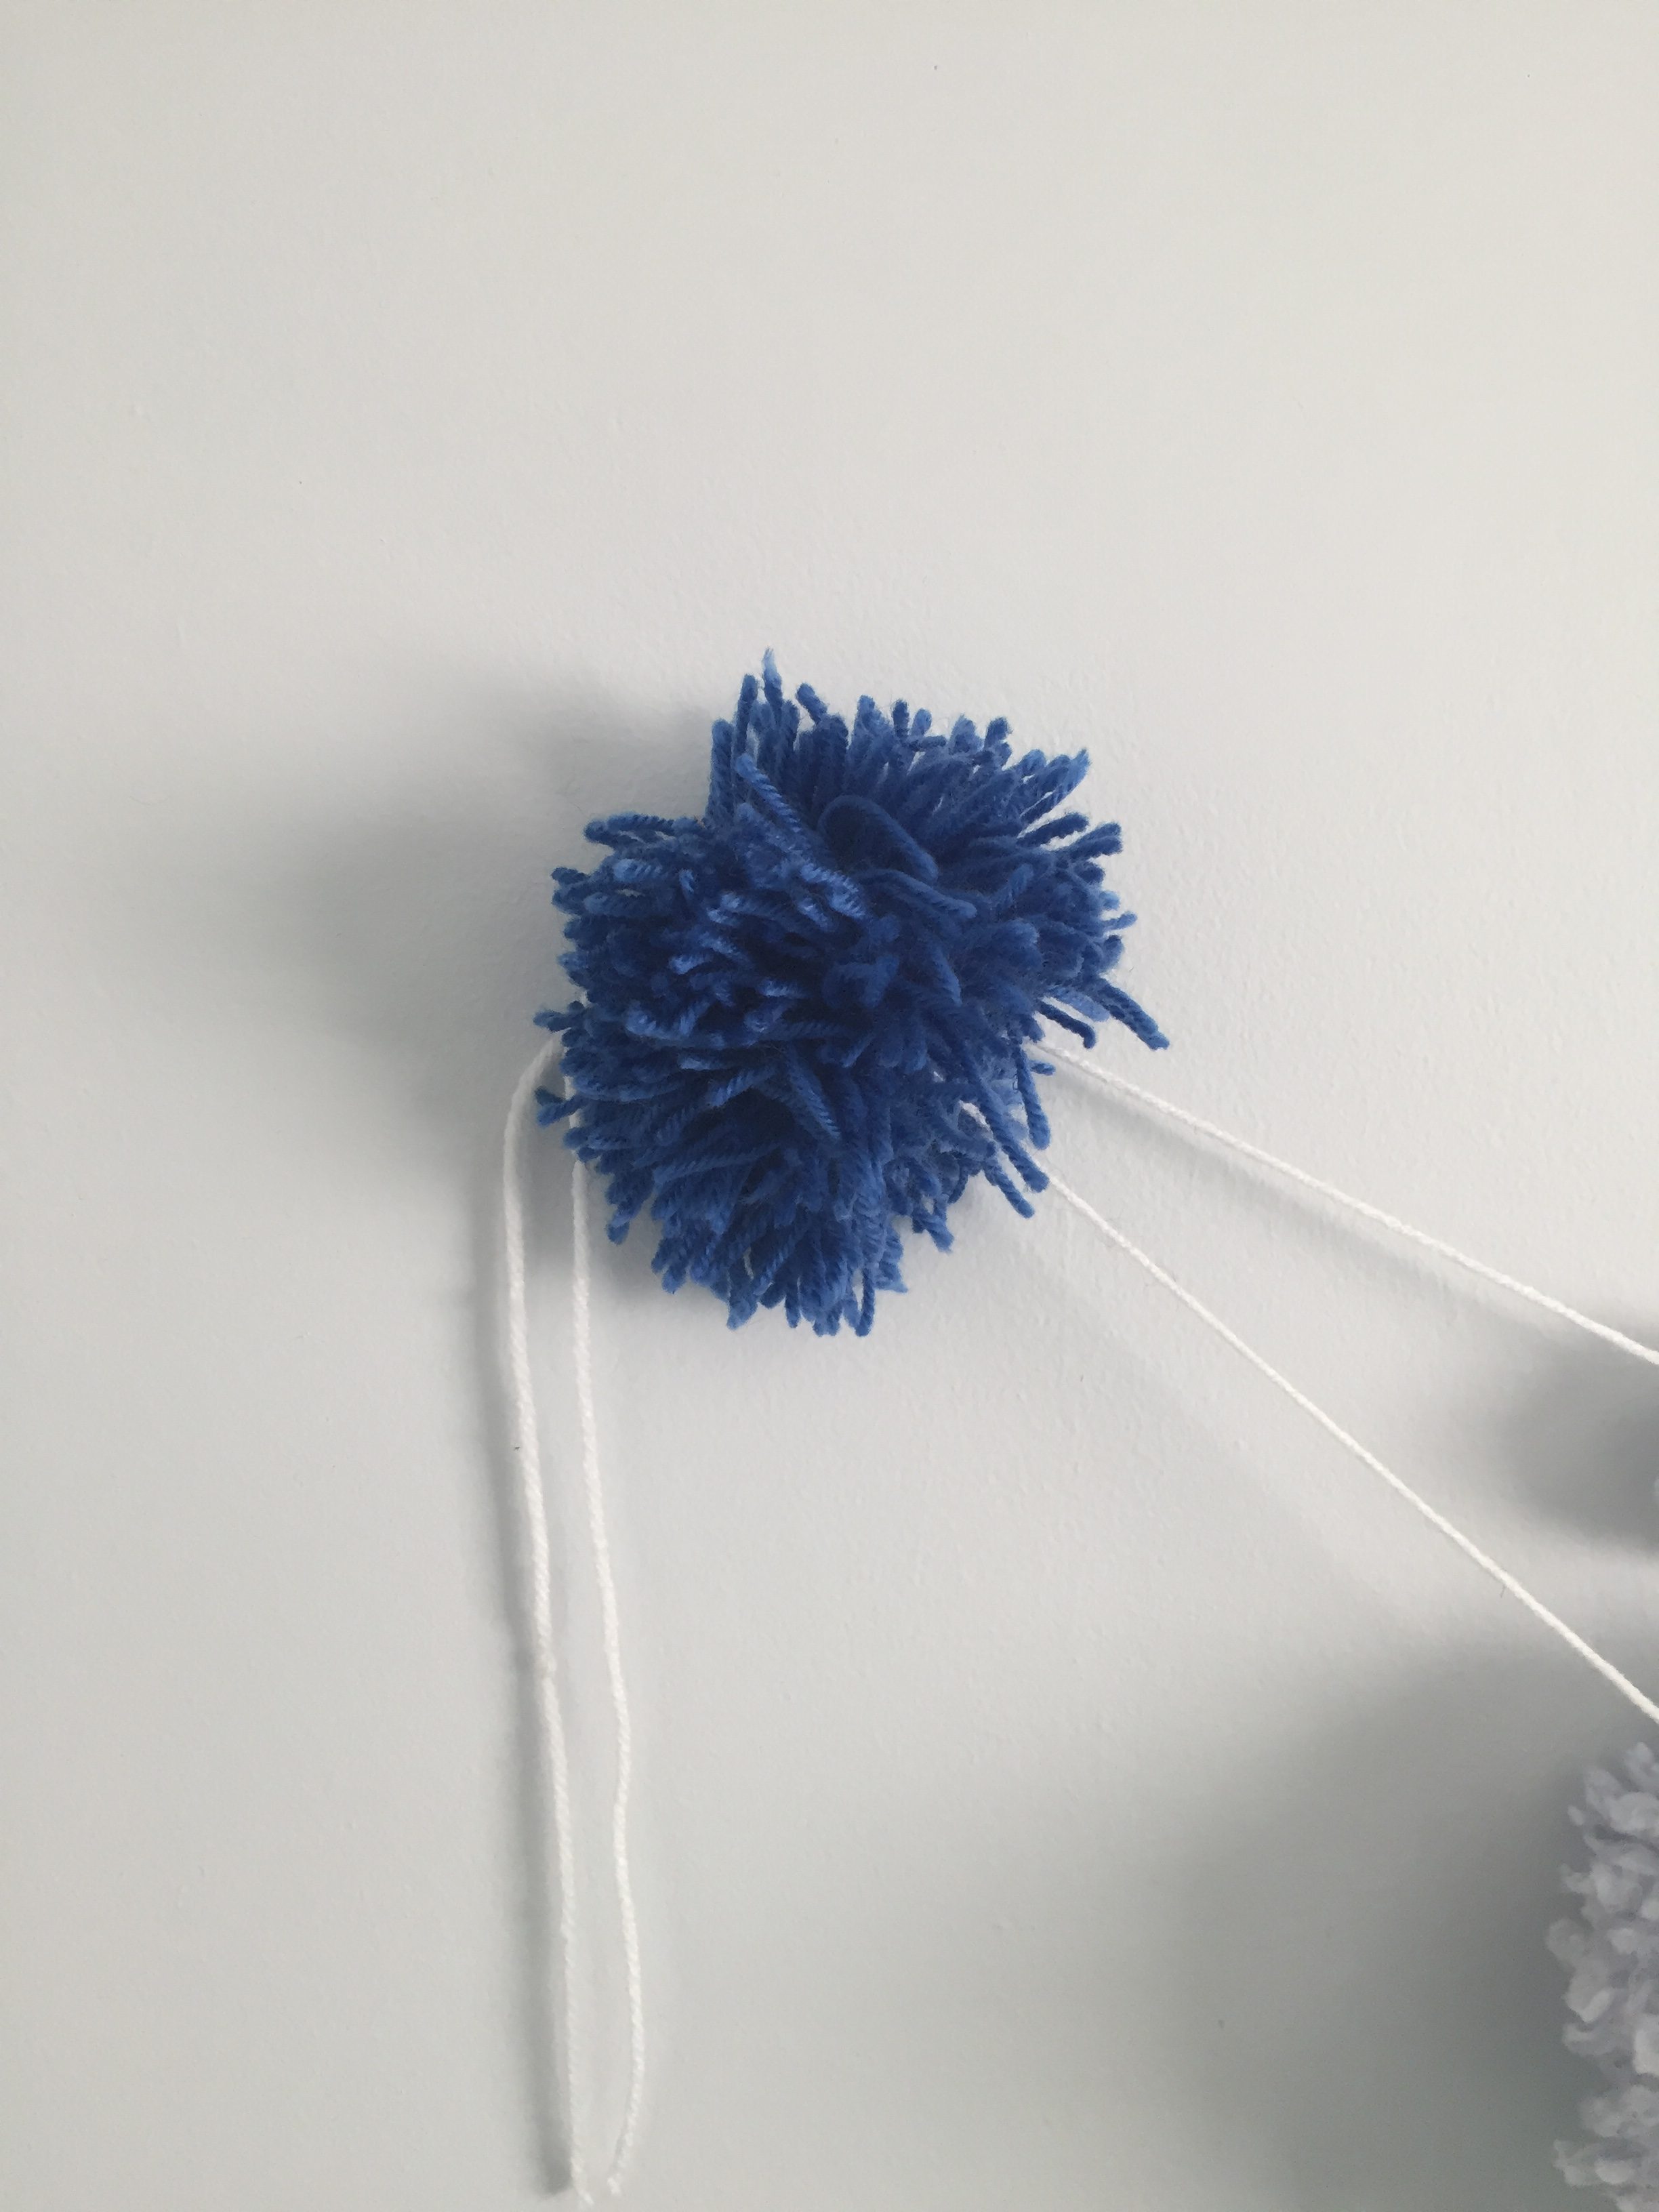
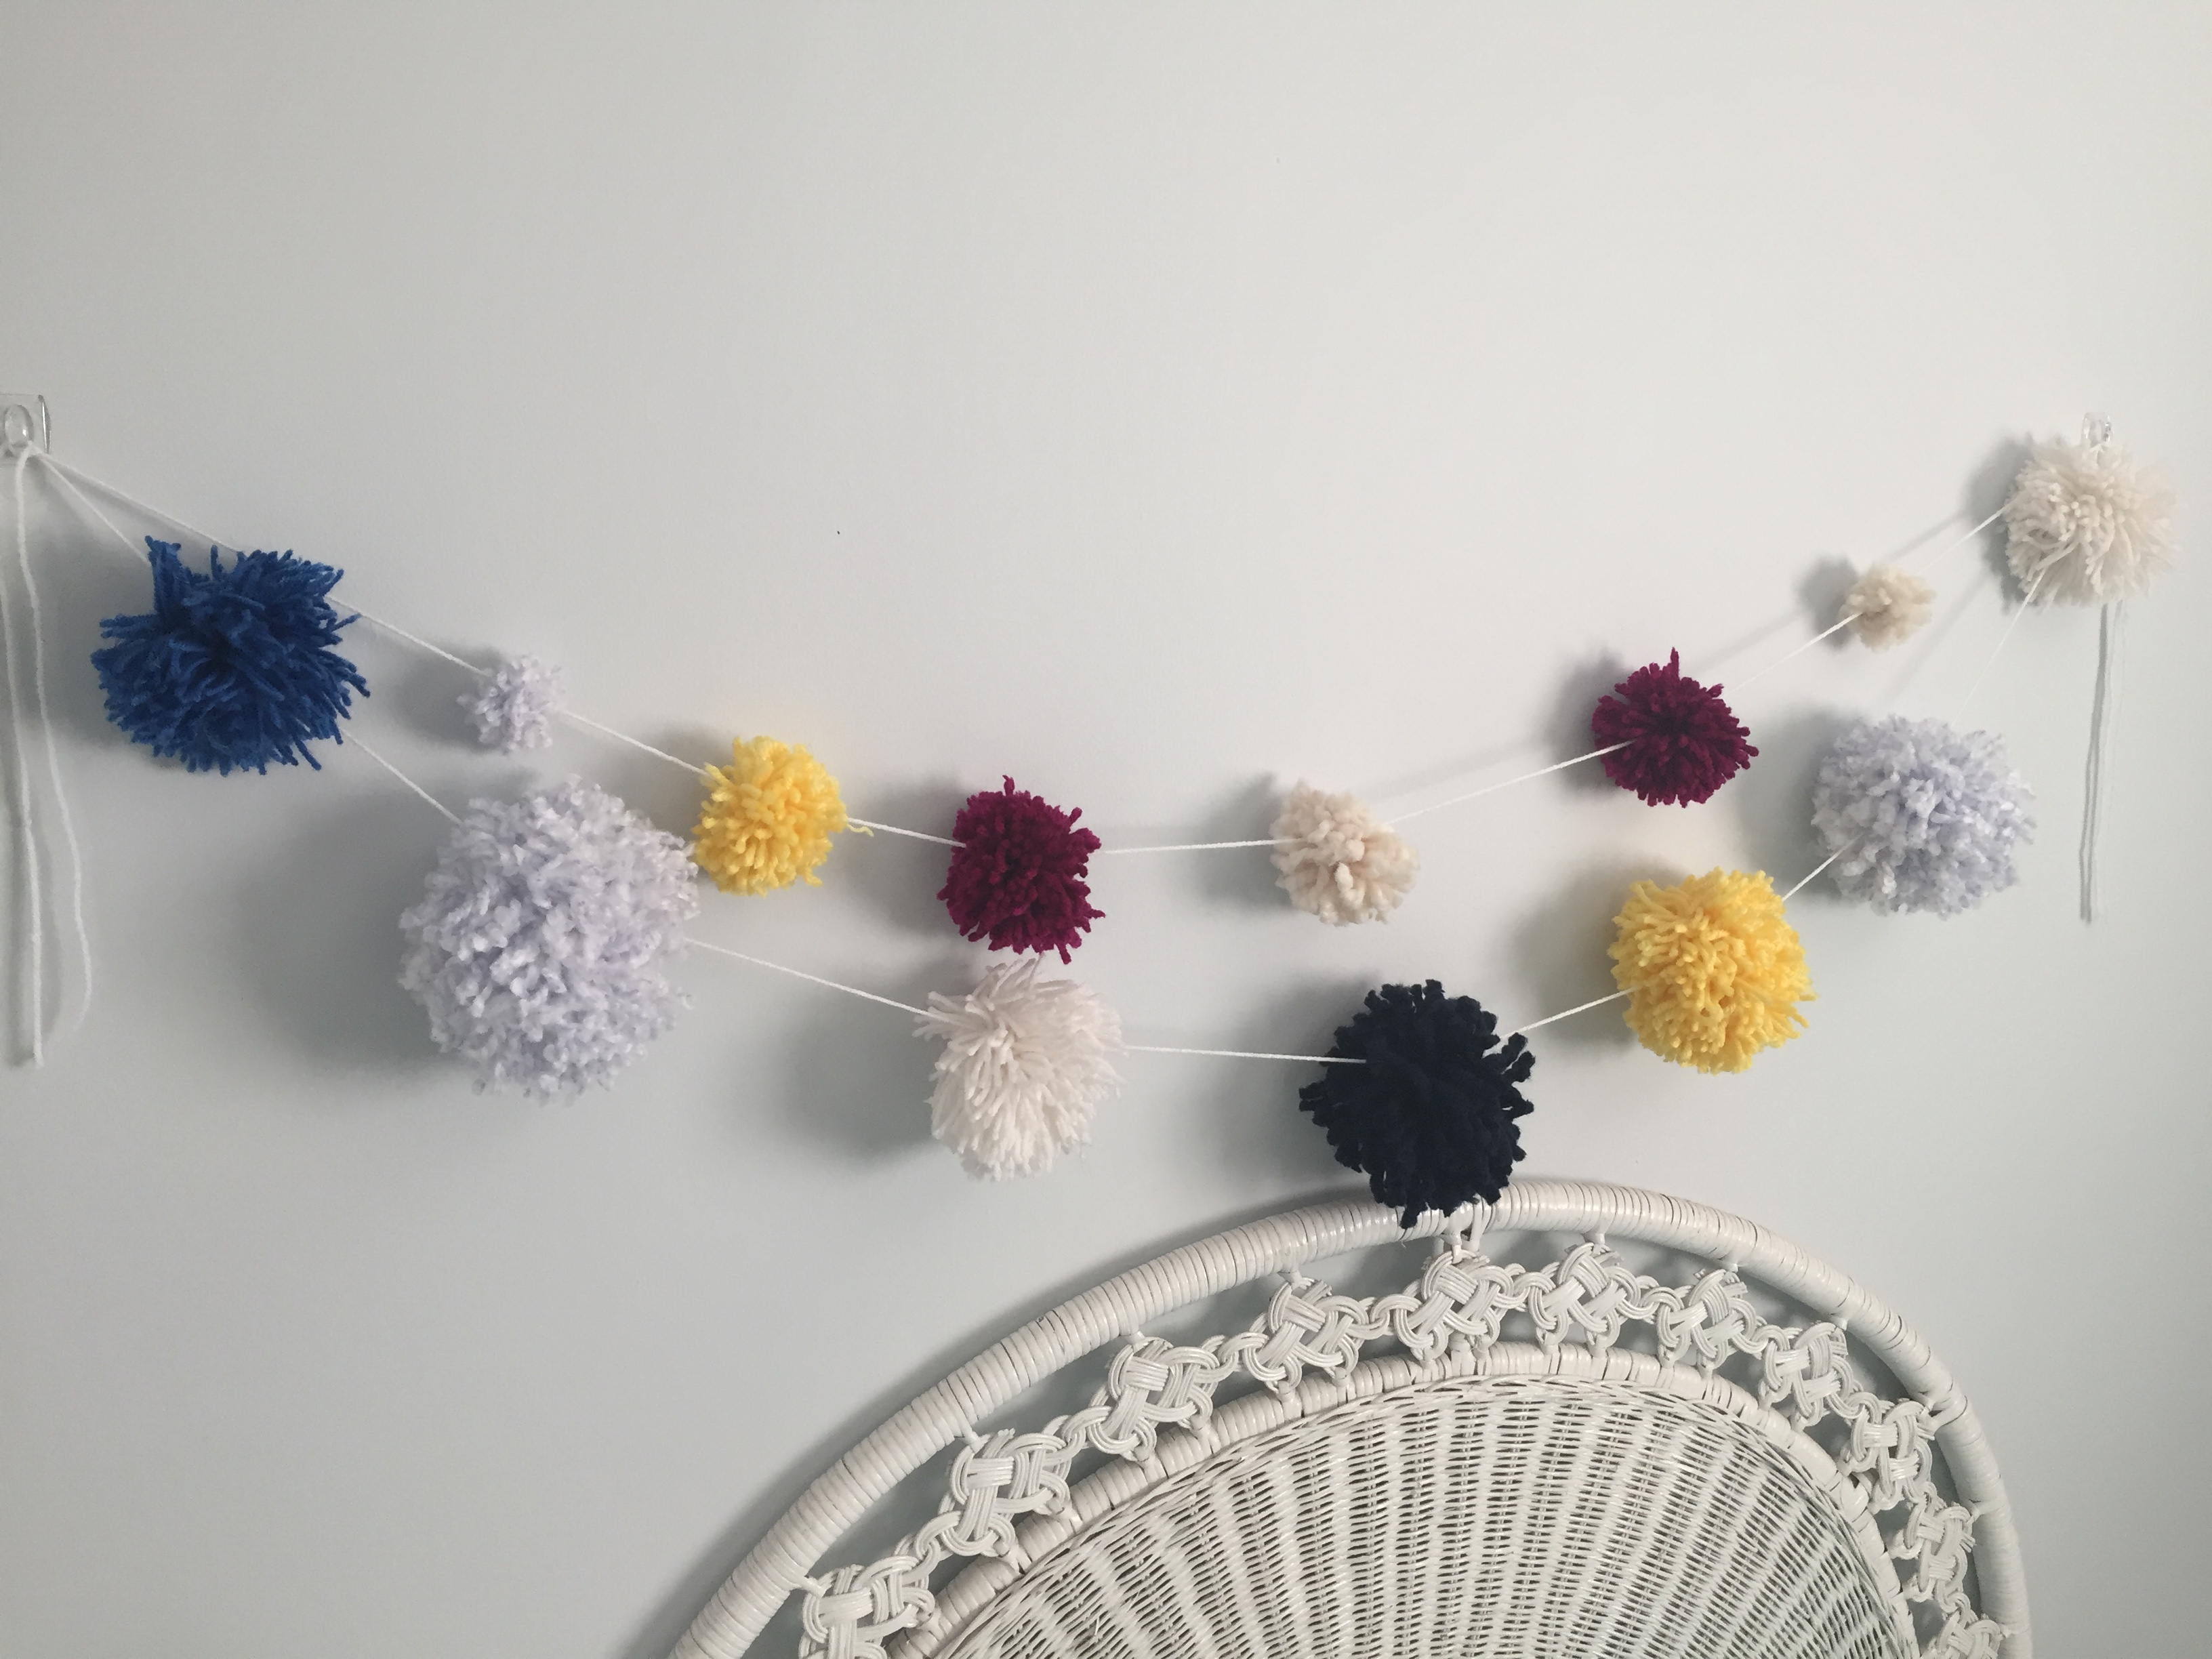
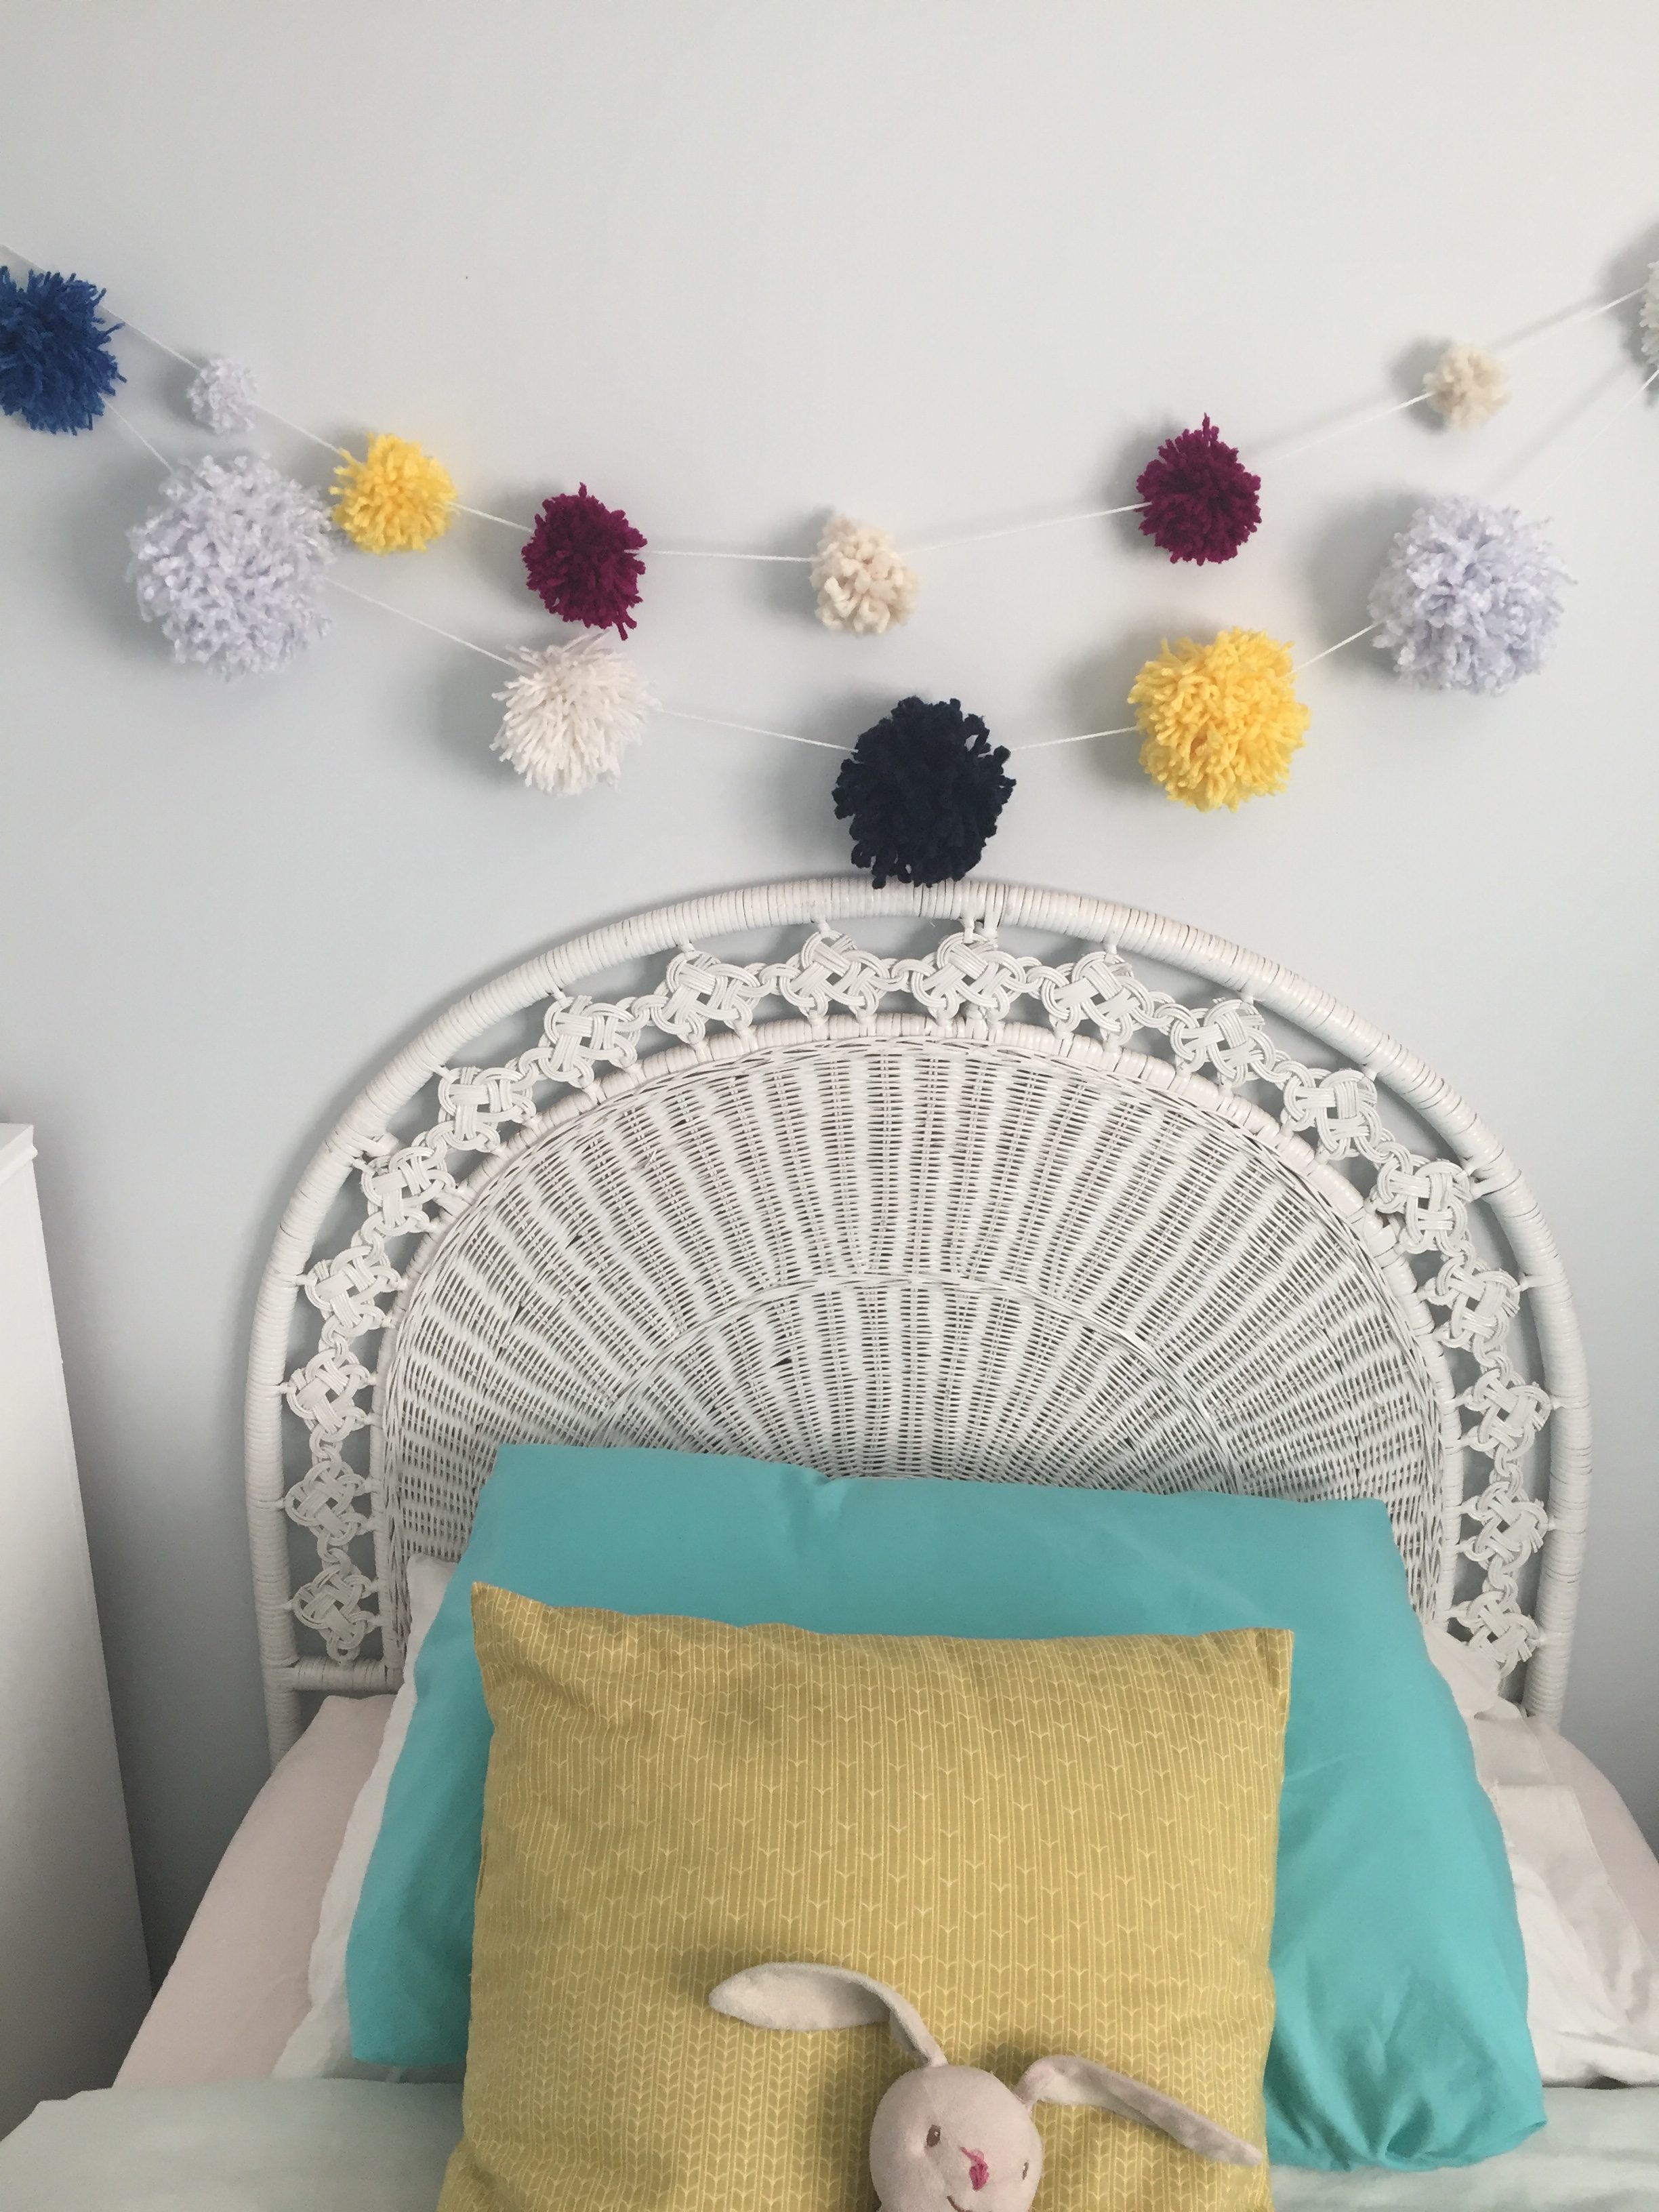
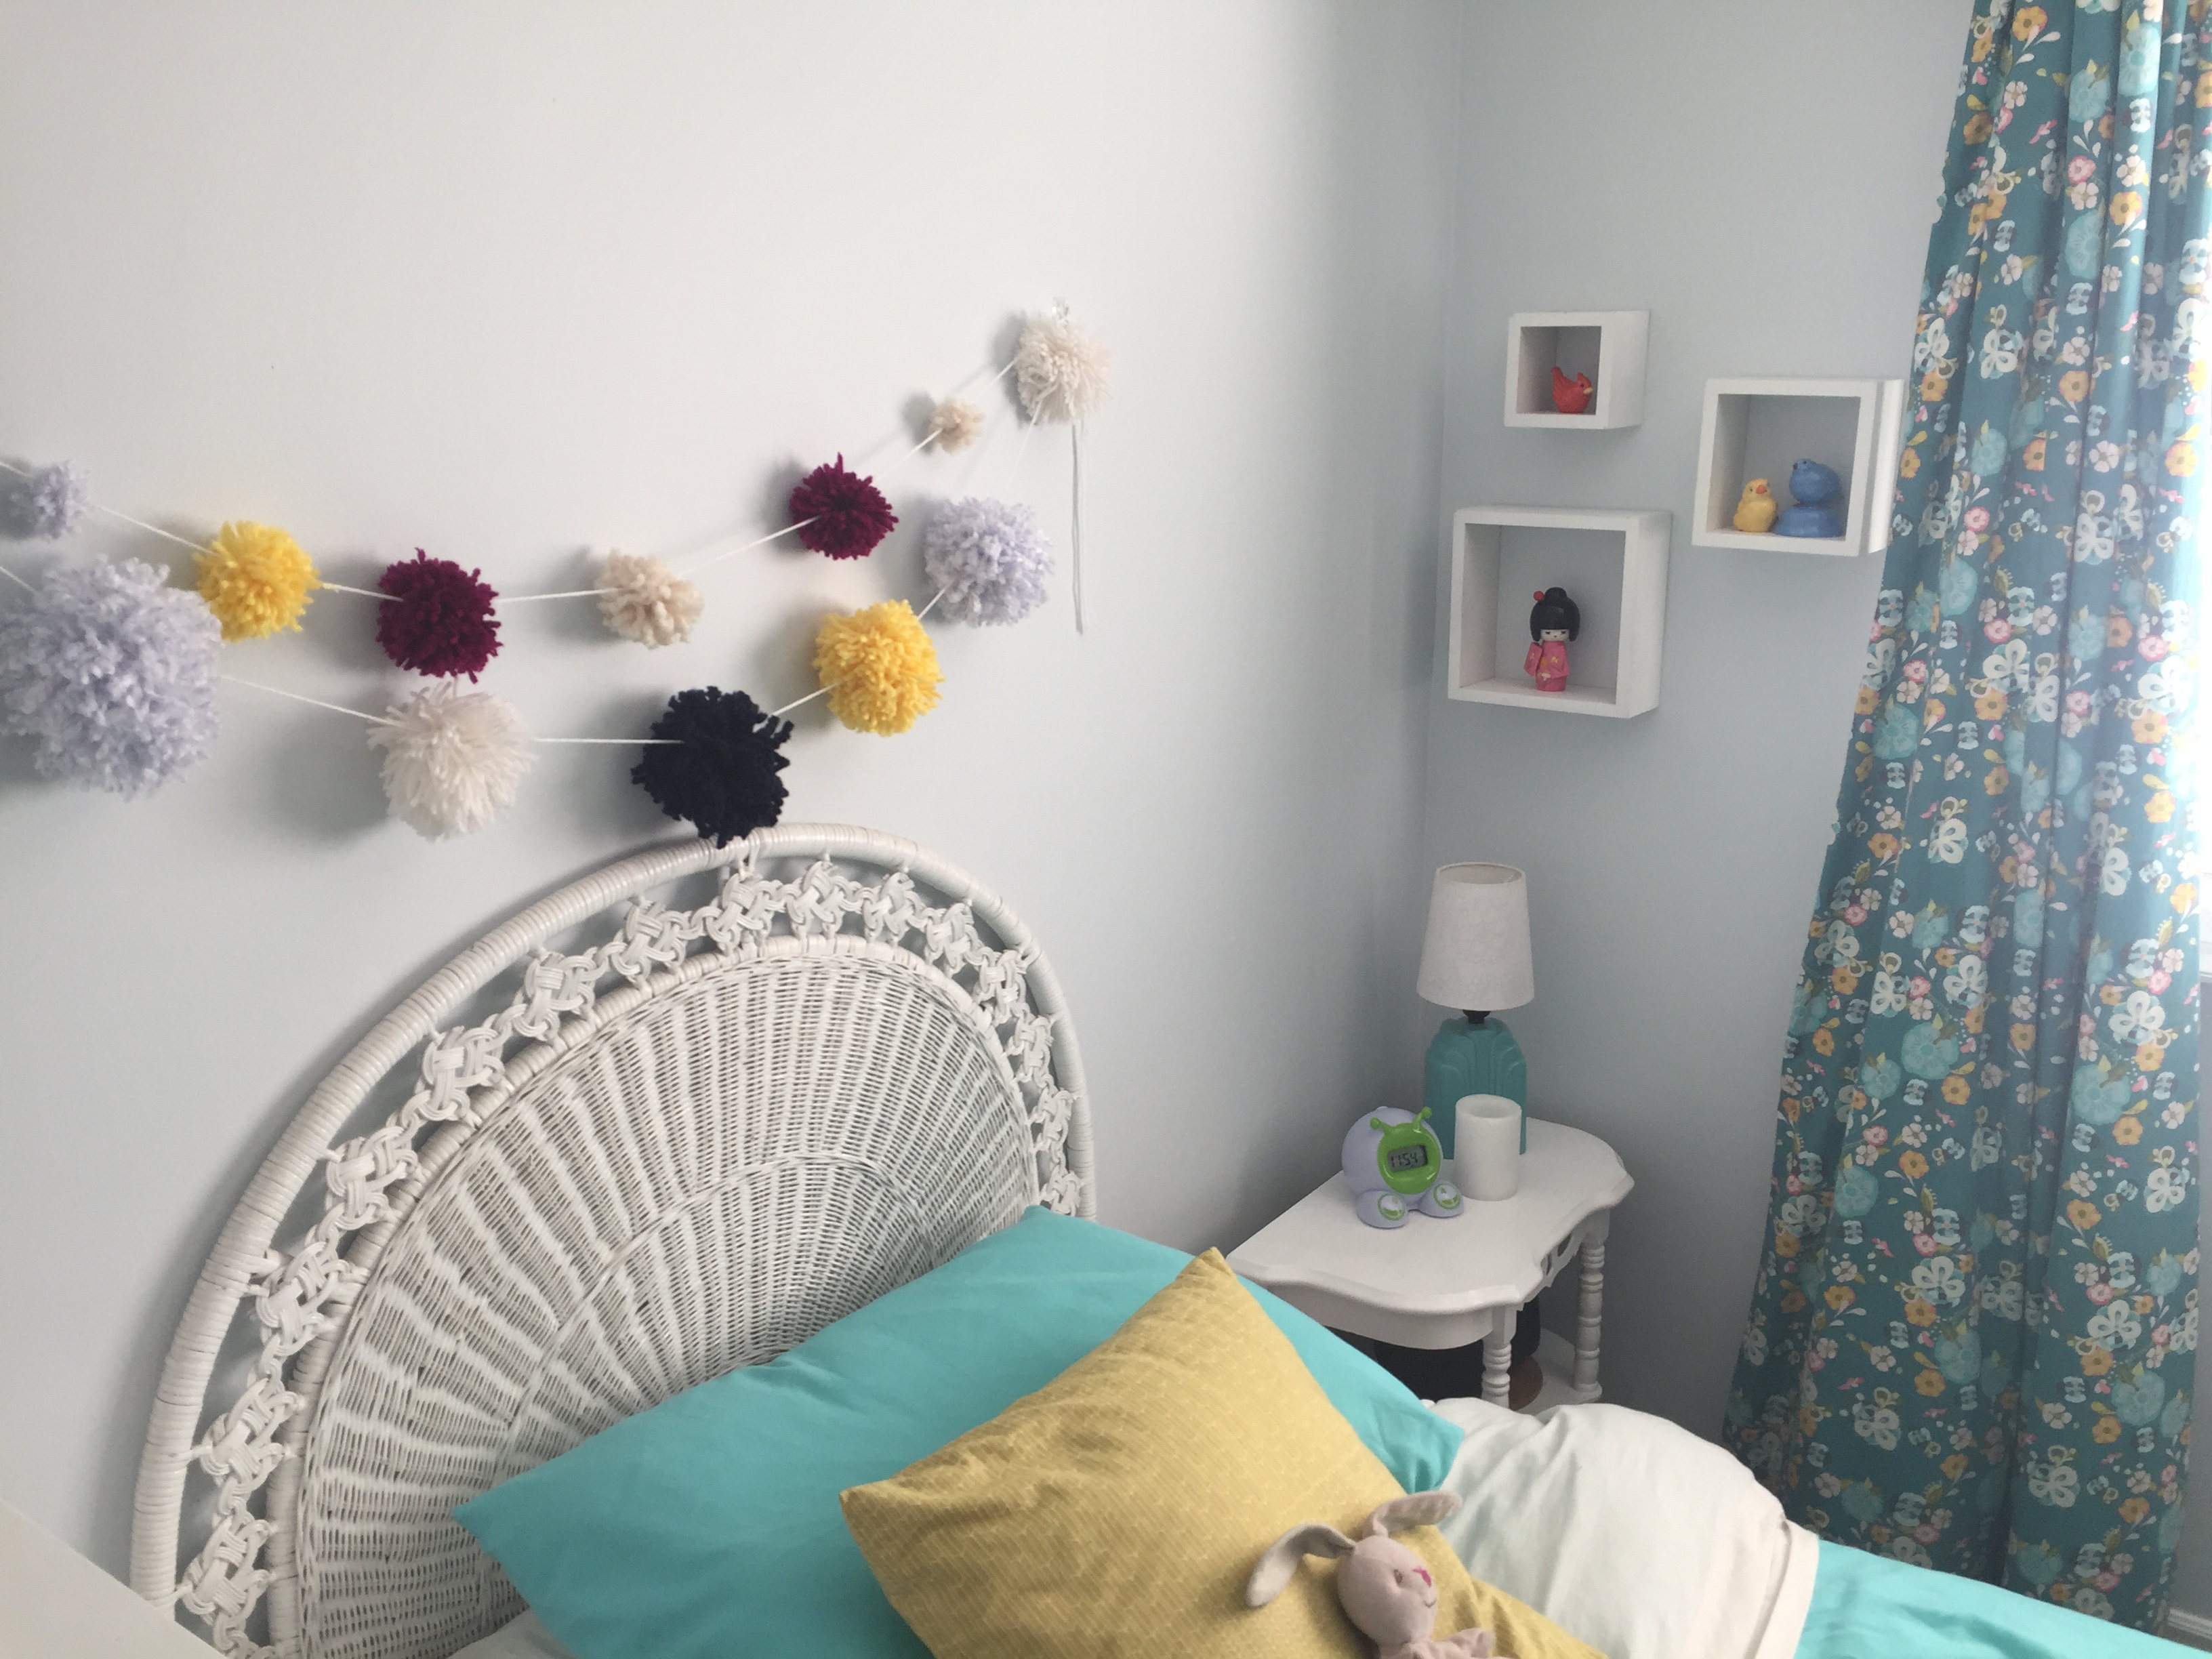
This is a super easy way to add colour and texture to any space.
No post on pom poms would be complete without showing the amazing work of Marsha Golemac.
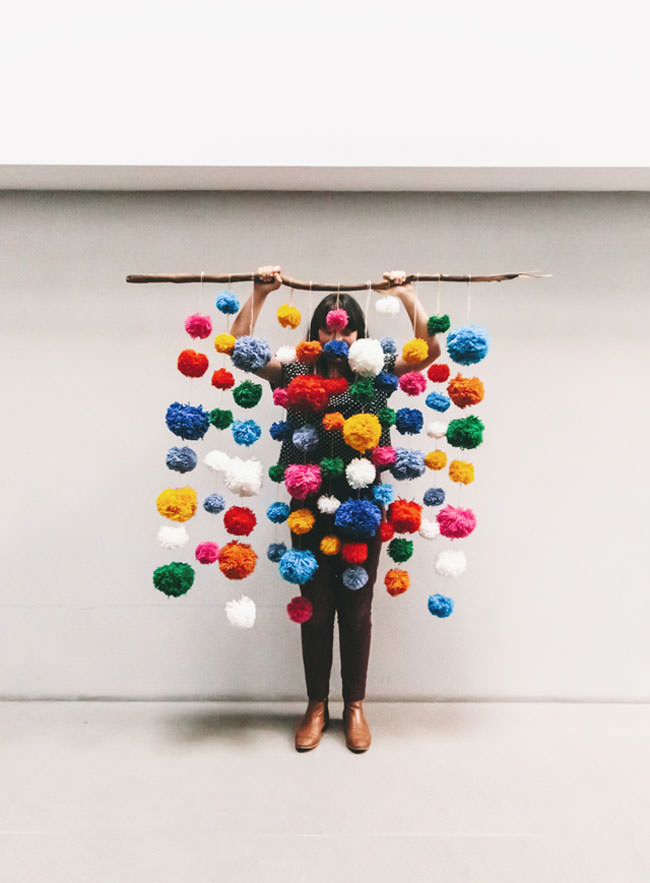
How much fun would it be to wake up everyday to that!
Happy Hunting (and crafting!)