Since it’s still officially summer we can still officially talk about patios! I love patio season and getting the most from our backyard was at the top of our to do list this year. Last year we made lots of upgrades to our backyard, you can see them here. This summer we continued the work by enhancing our pool side sitting area. I love the space we have but hated staring at the all the laundry and furnace vents that stuck out the house right beside it.
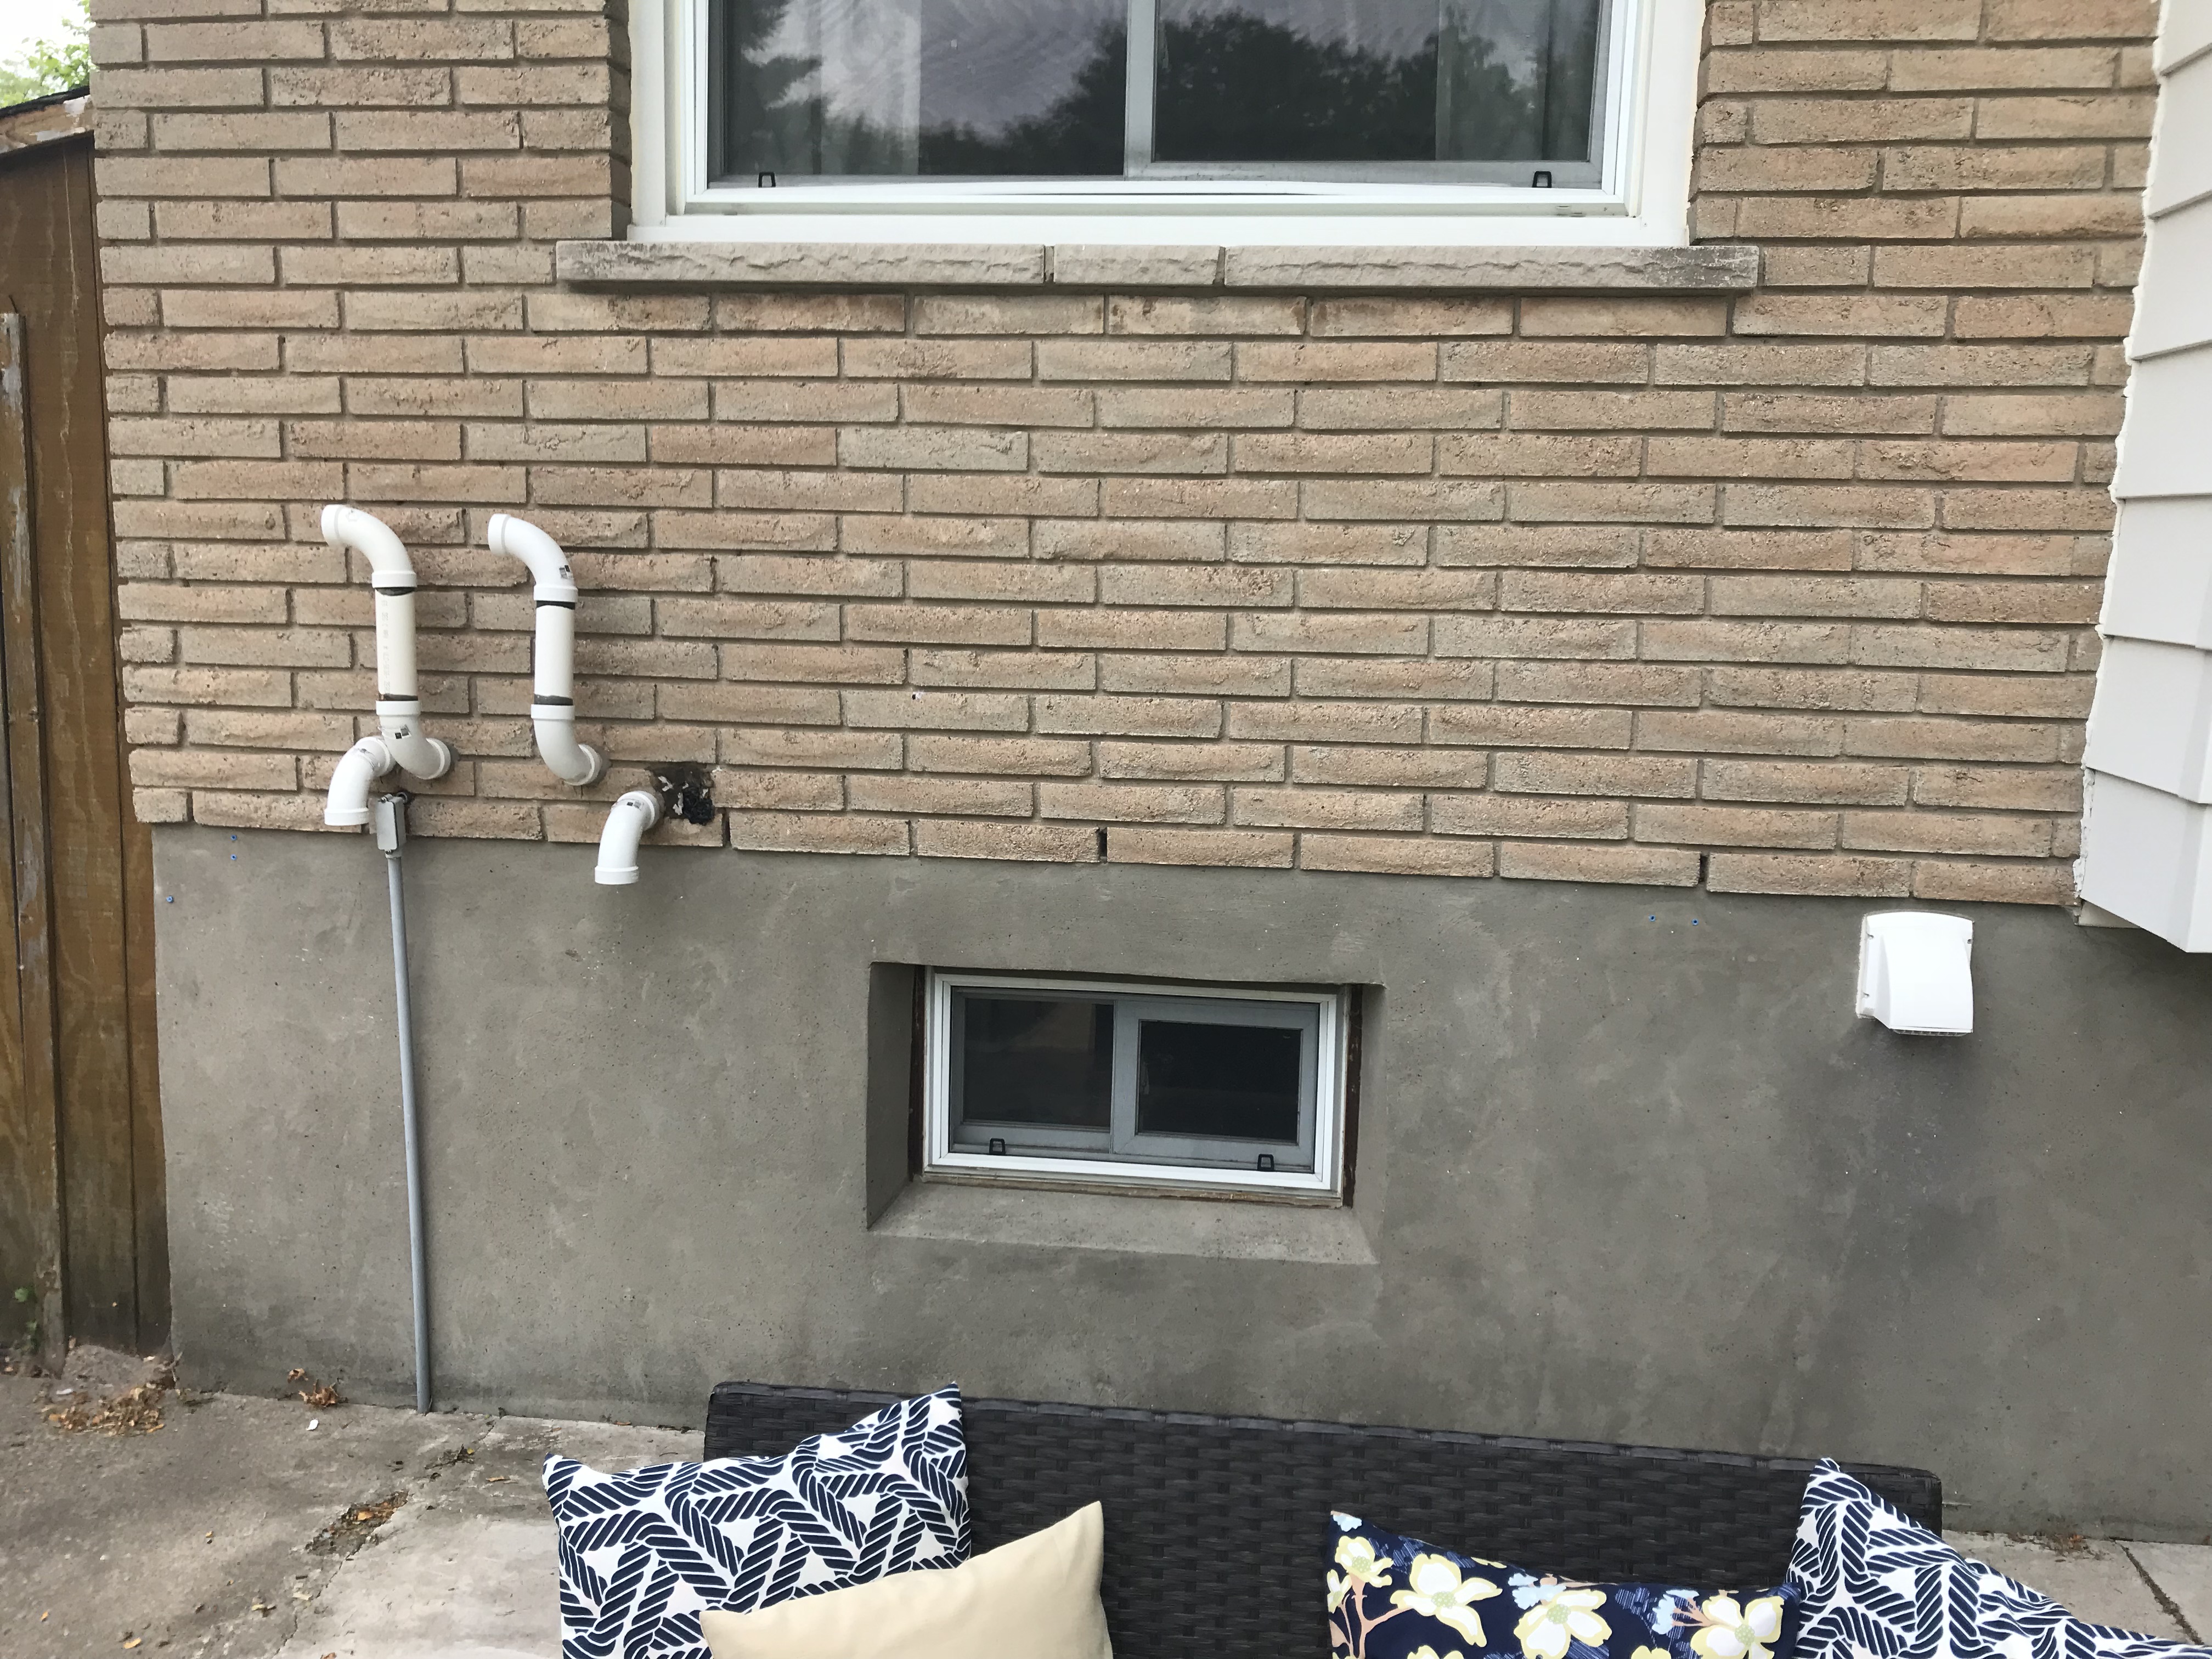
Here’s what we started with:
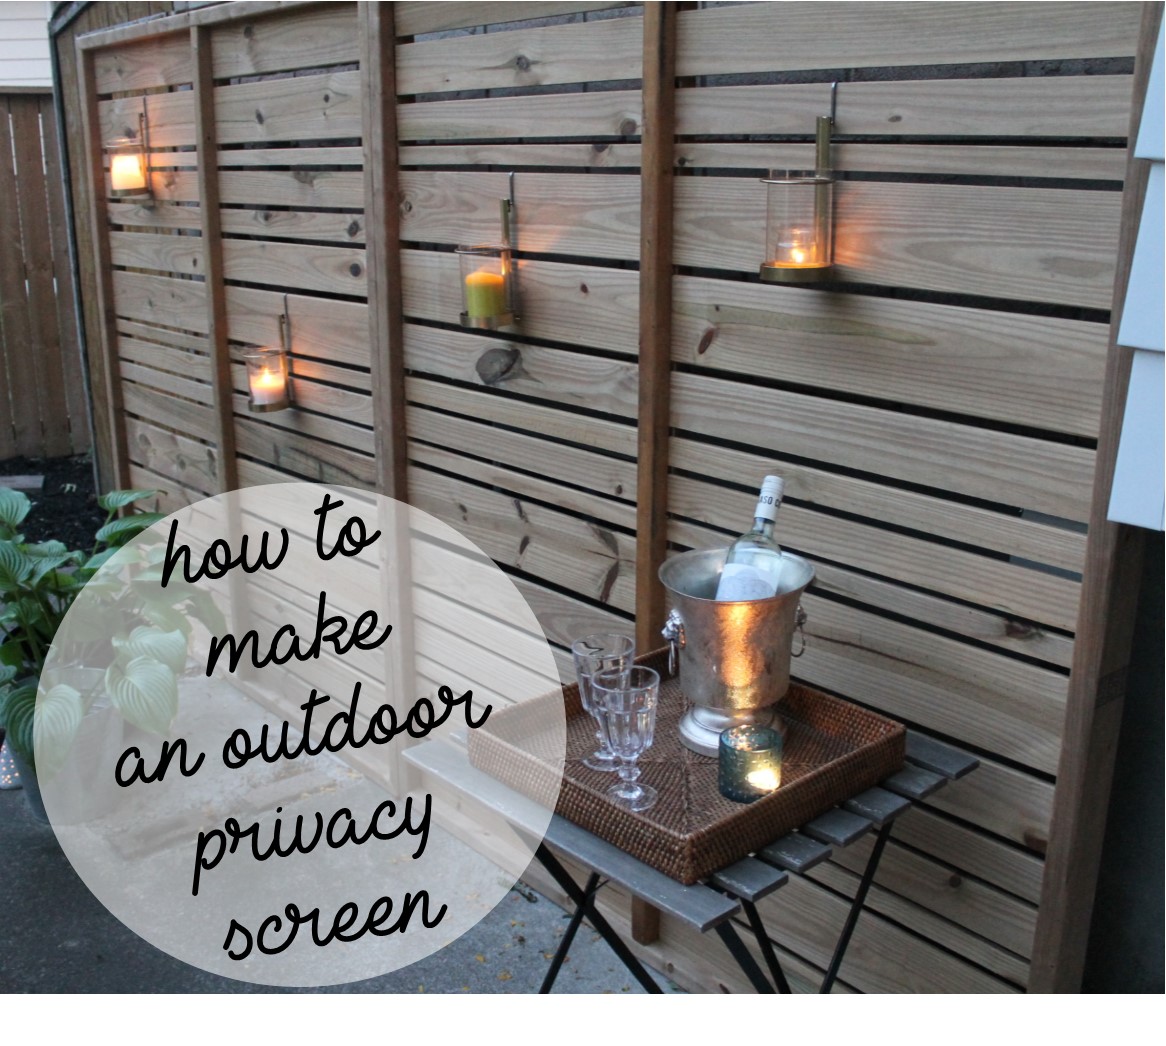
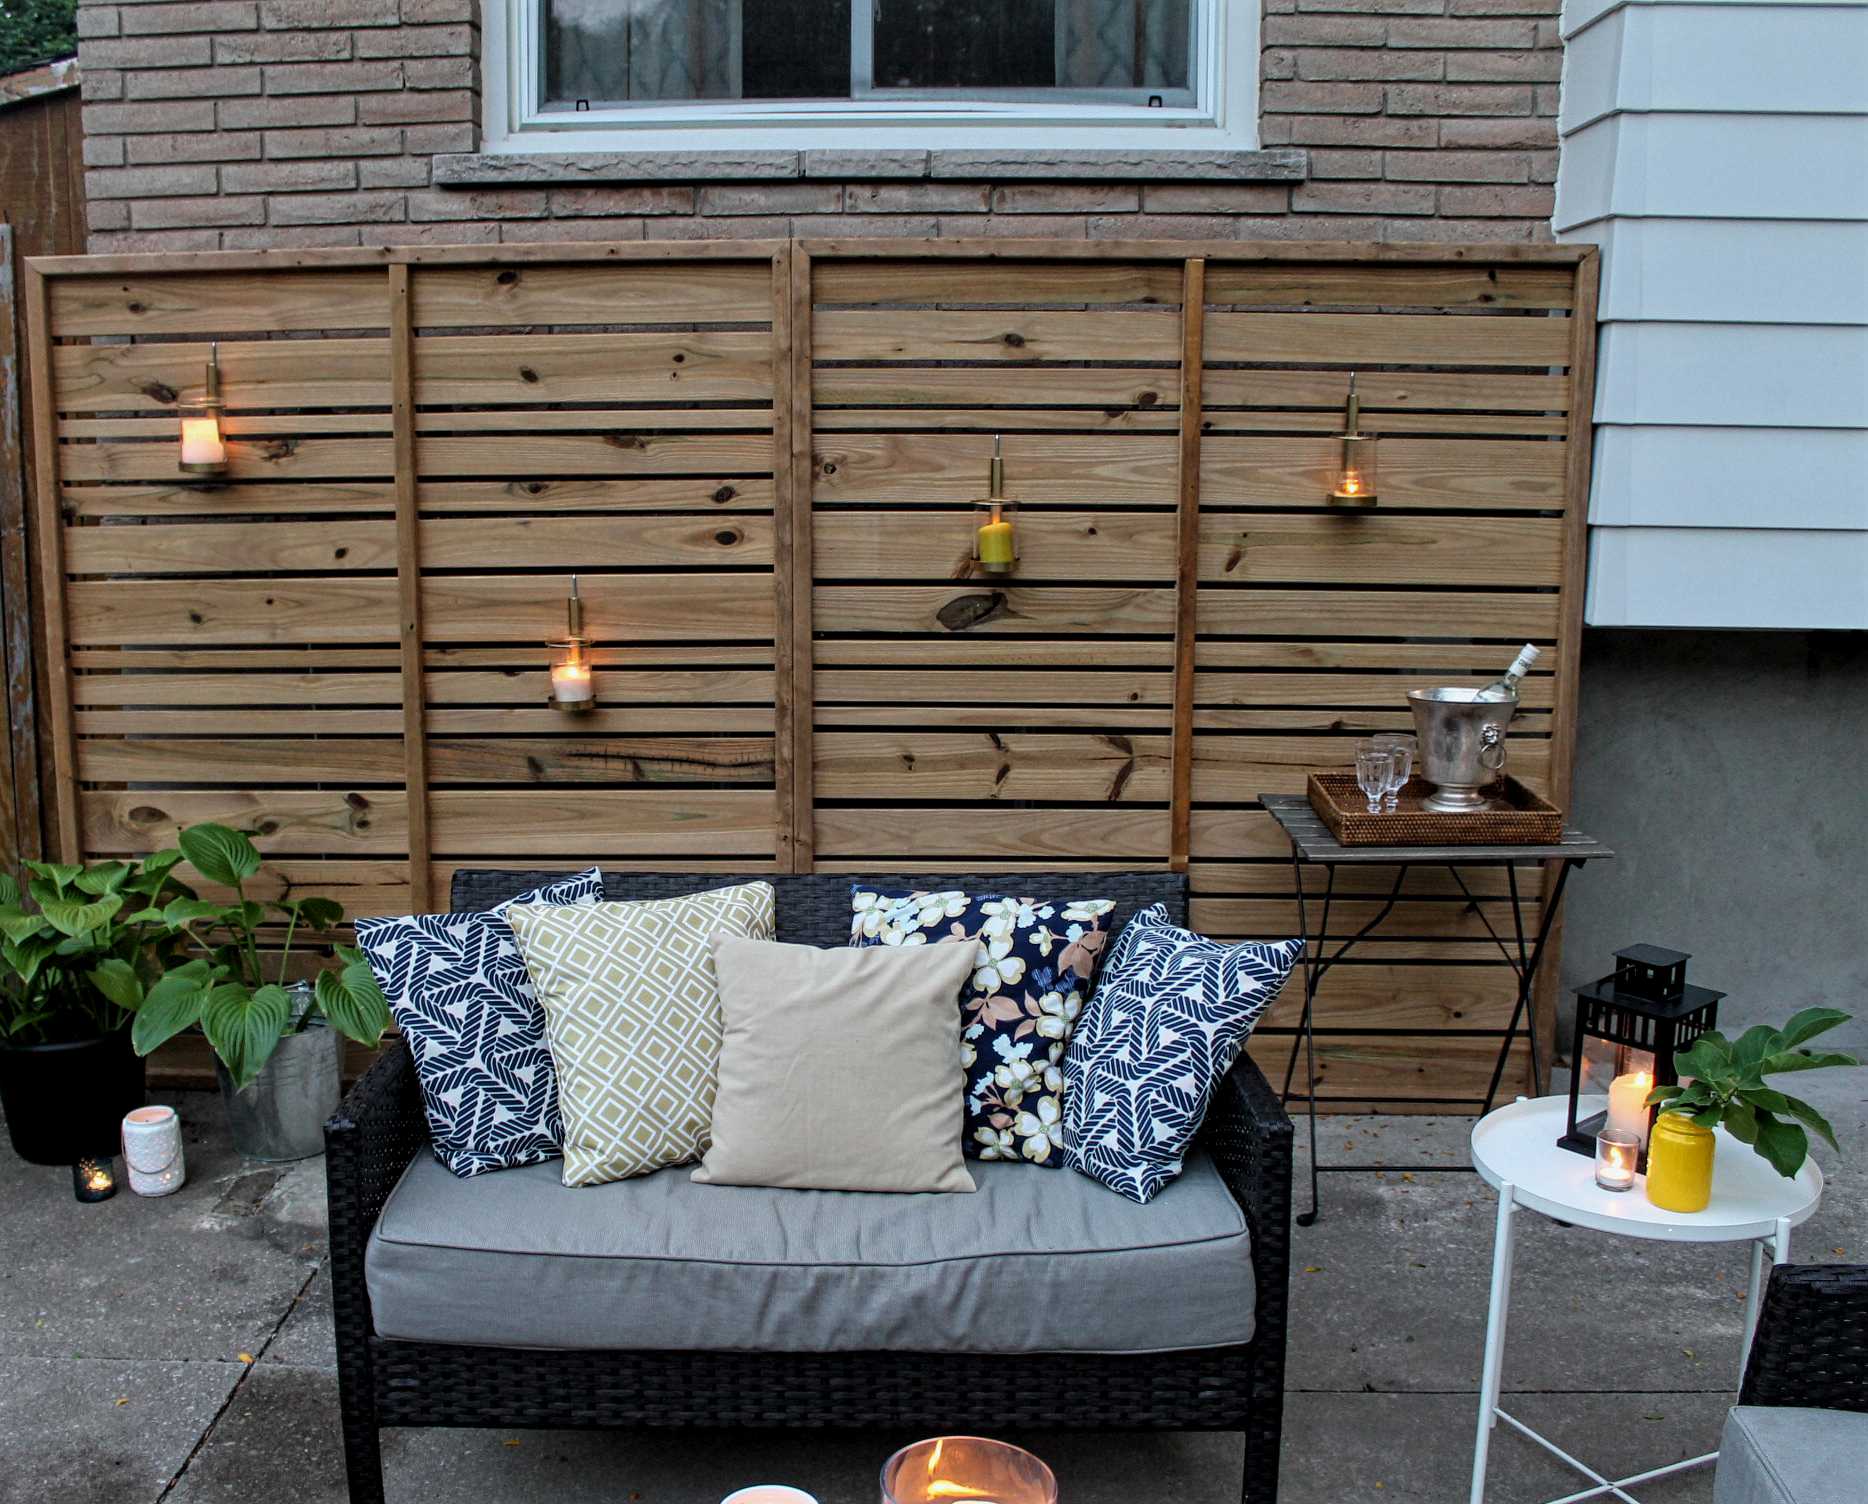
And here’s what we did:
 We (I mean an HVAC professional) moved our air conditioning earlier in the season to the other side of the house. It was sitting to the left of the basement window and would kill any conversation when it cycled on. With the AC out of the way we were left with an ugly wall of vents and pipes and a window that looks directly into our scary laundry room.
The screen is actually two screens attached together and then drilled into the concrete and attached to the house with brackets. Below are some loose instructions on how it came together:
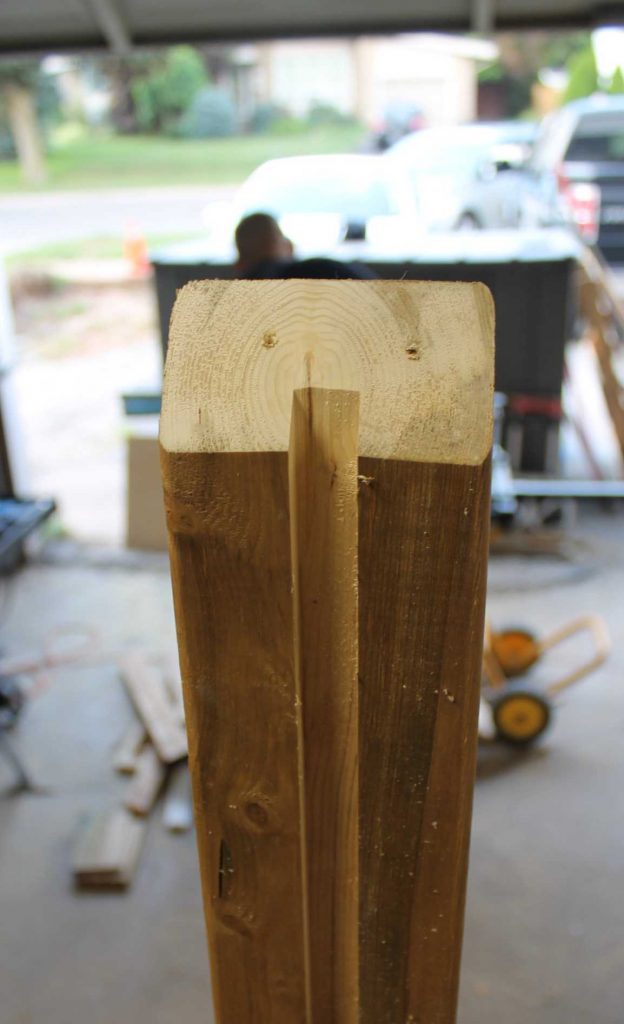

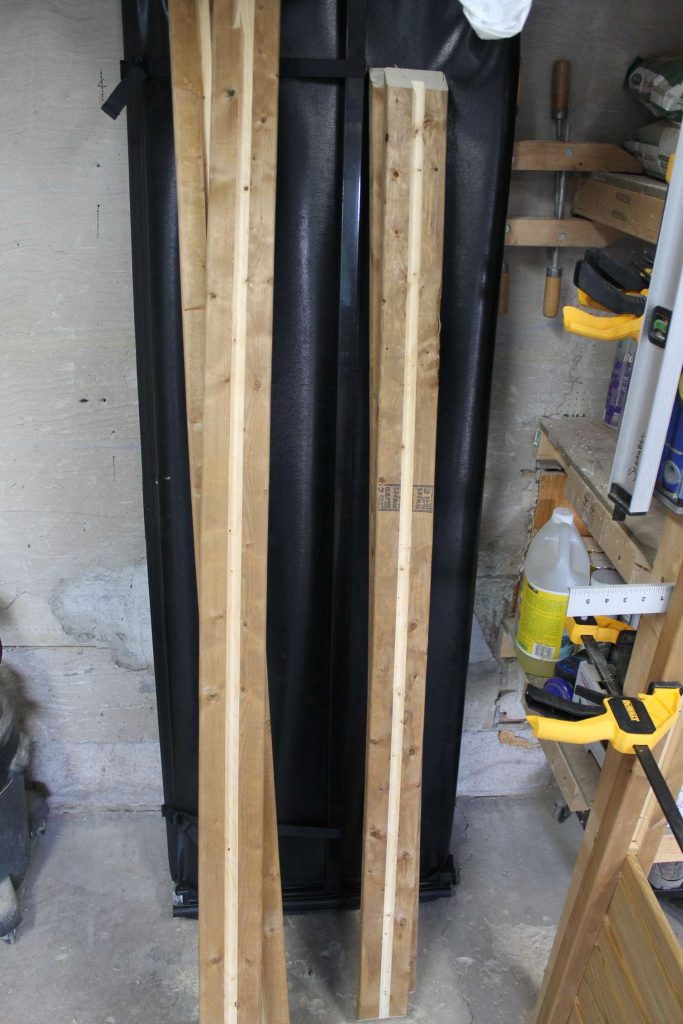
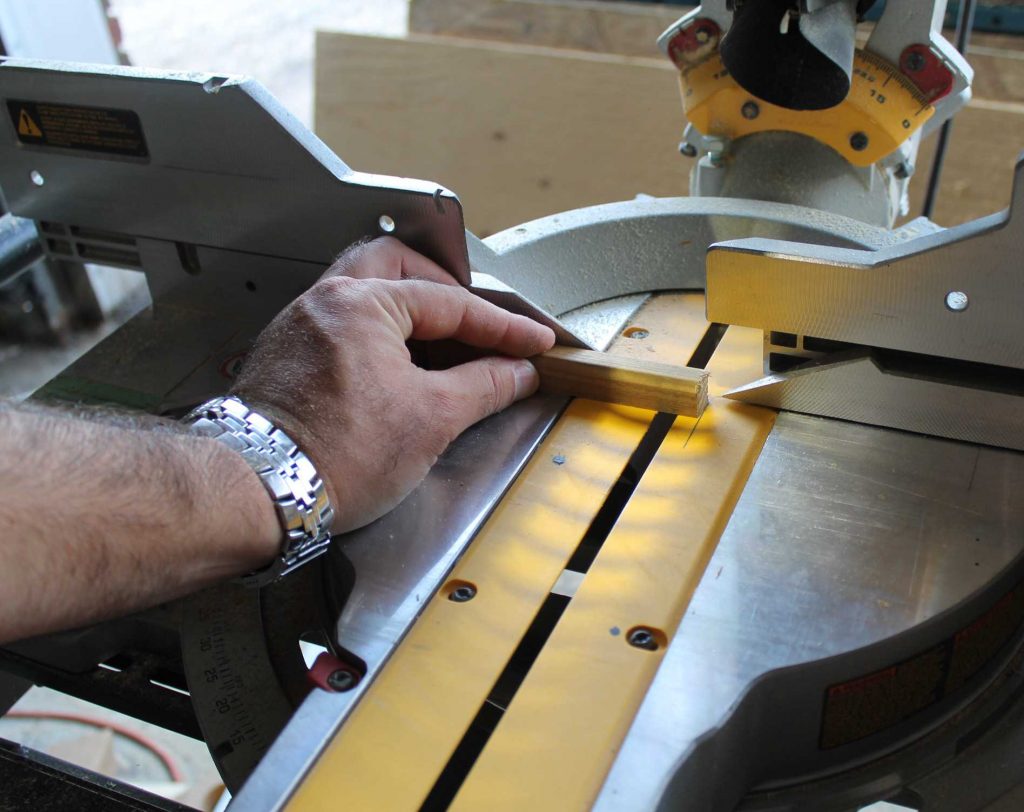
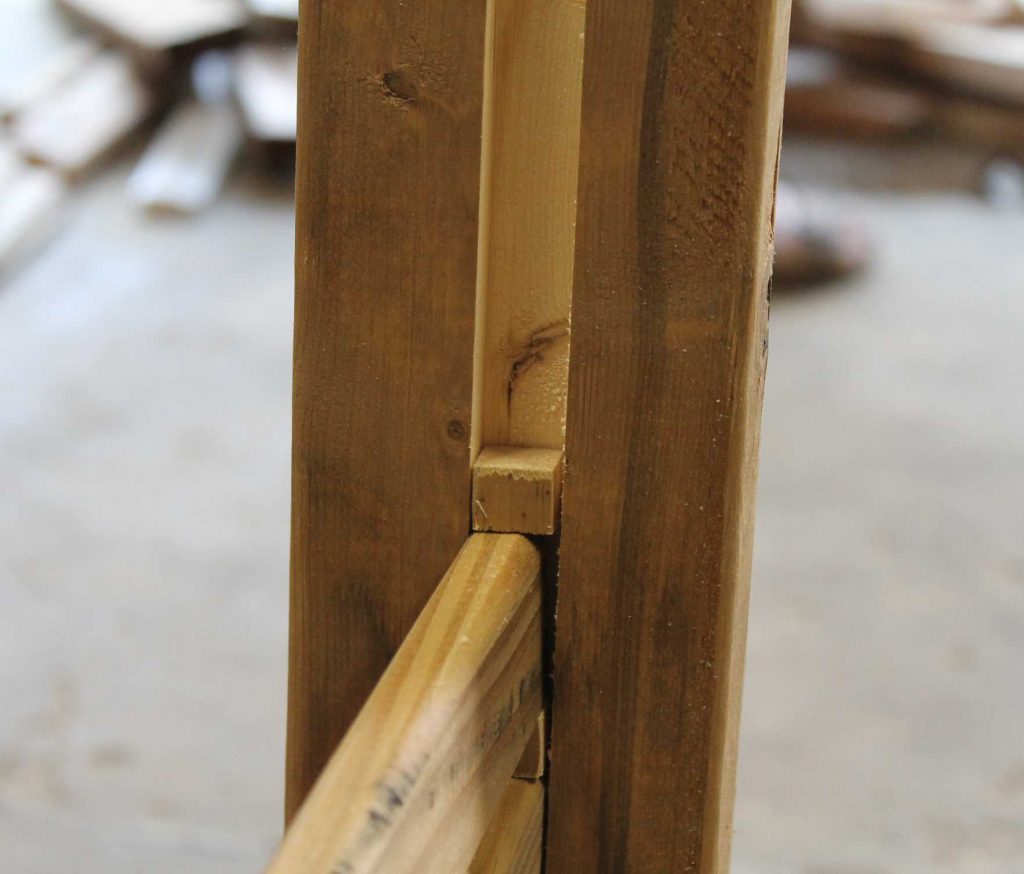
We (when I say “we” I totally mean “he”) dado cut the centre of three 2x4s. This became the frame of the screen and was joined with mitred corners. 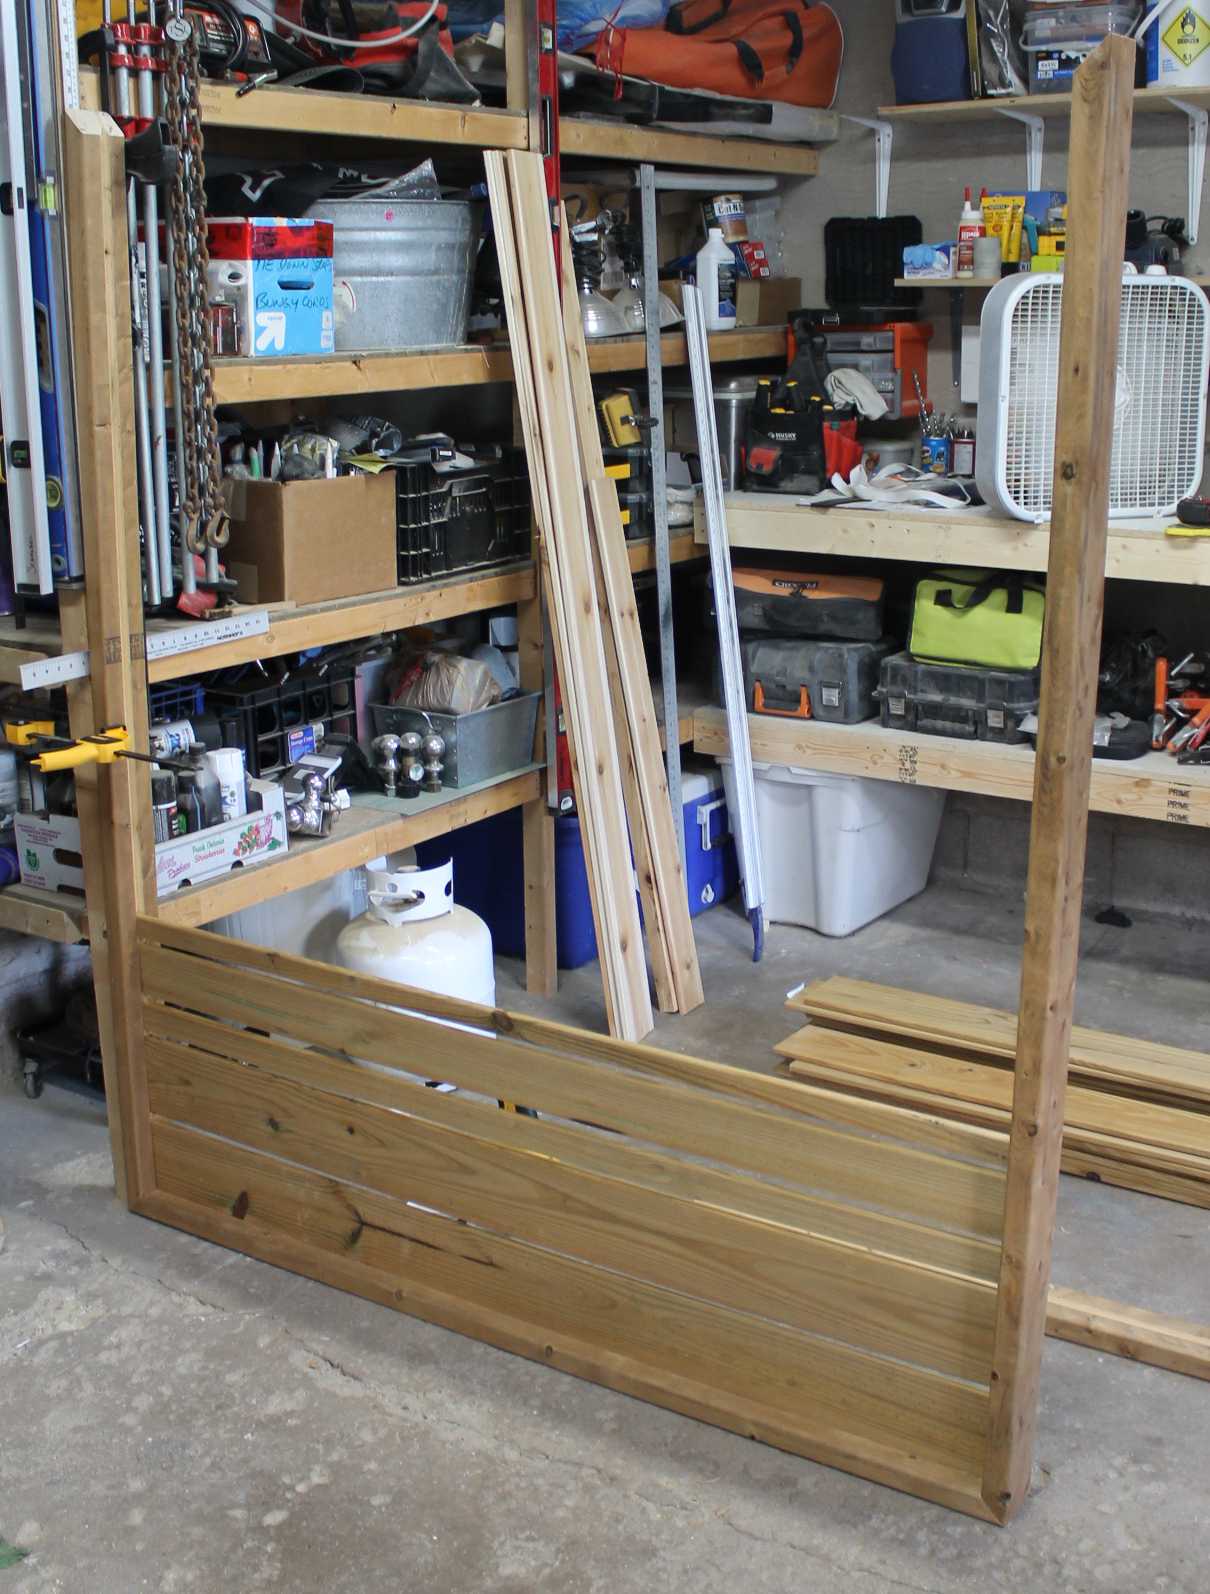
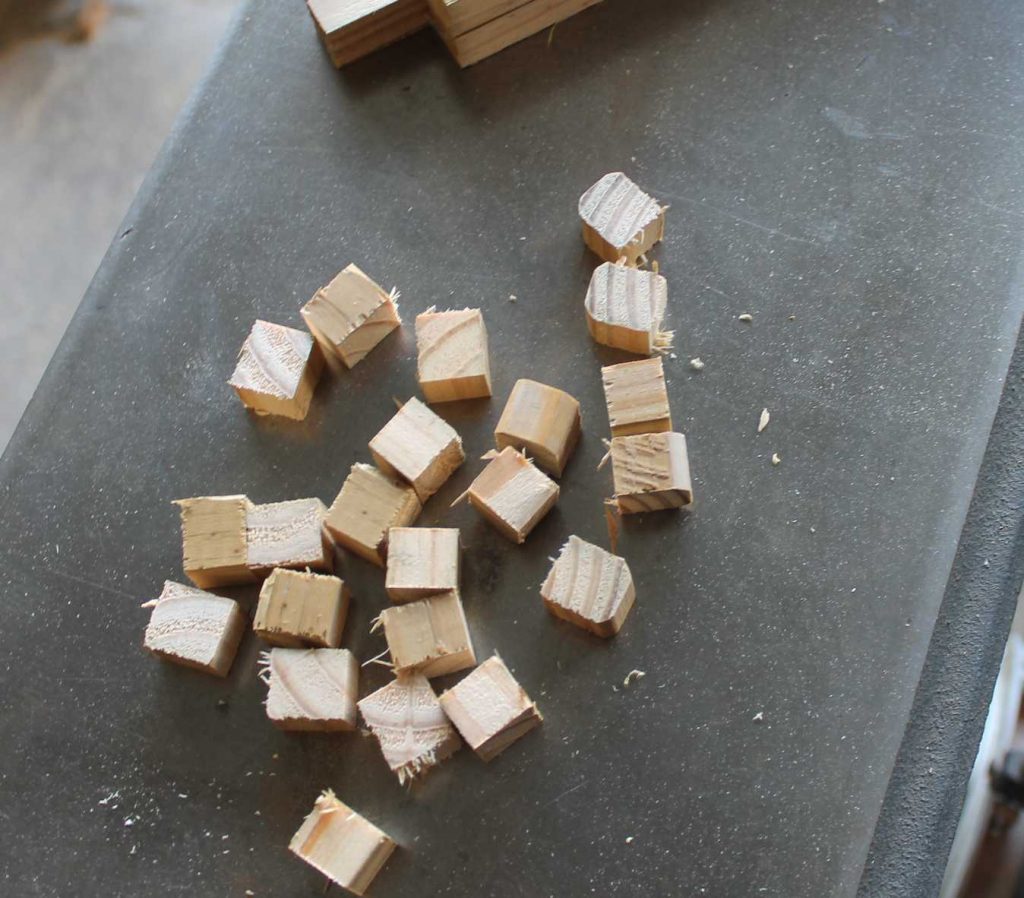
Once the outside frame was complete we slid the 1×10 fence boards into the track inside of the frame. We used small bits of scrap half inch square blocks to create a consistent space between the pieces of board.
By varying the width of the boards, it looks more modern and less fence-like.
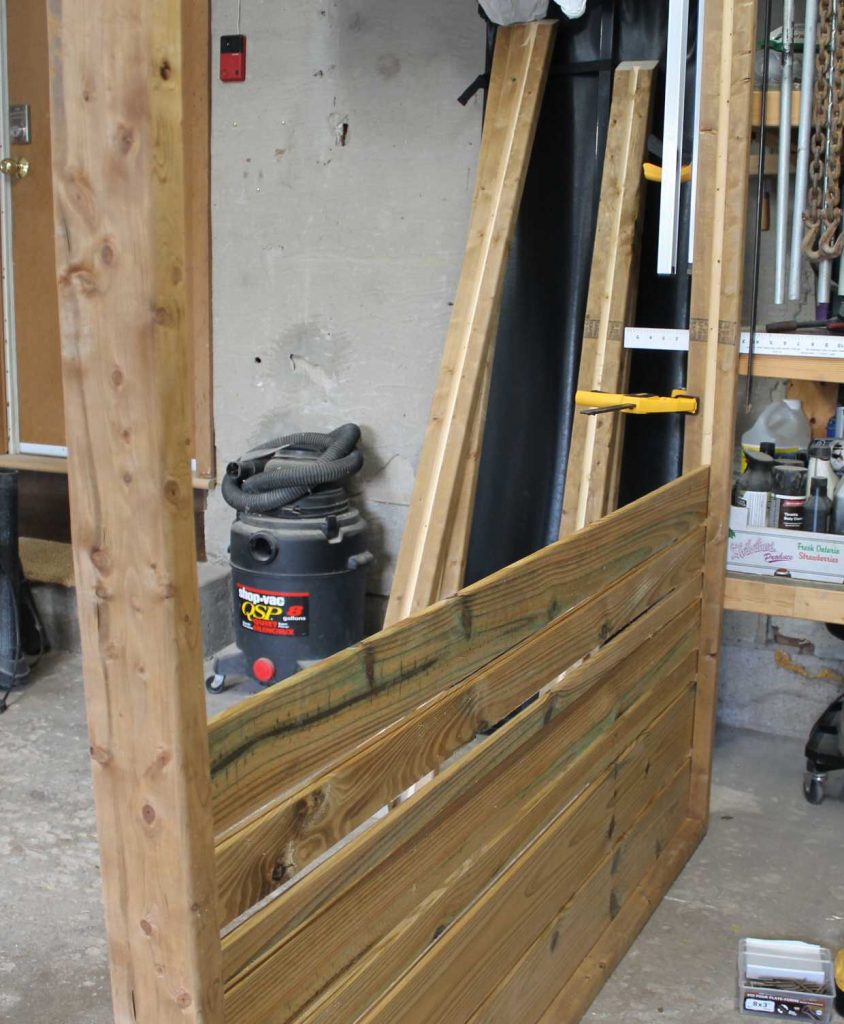
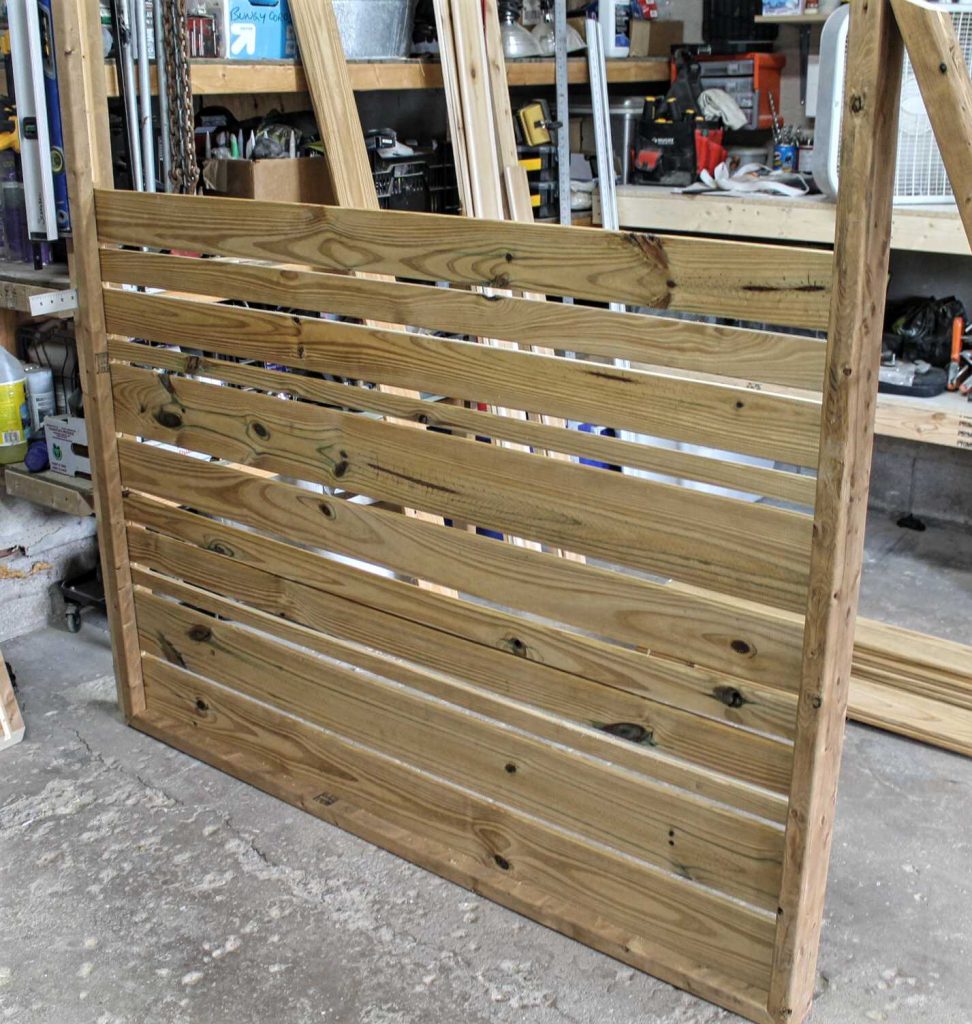

A fourth dado cut 2×4 with mitred corners was added to the top of the panel to finish it off. Each panel has a supporting piece running down the centre to make it extra sturdy.
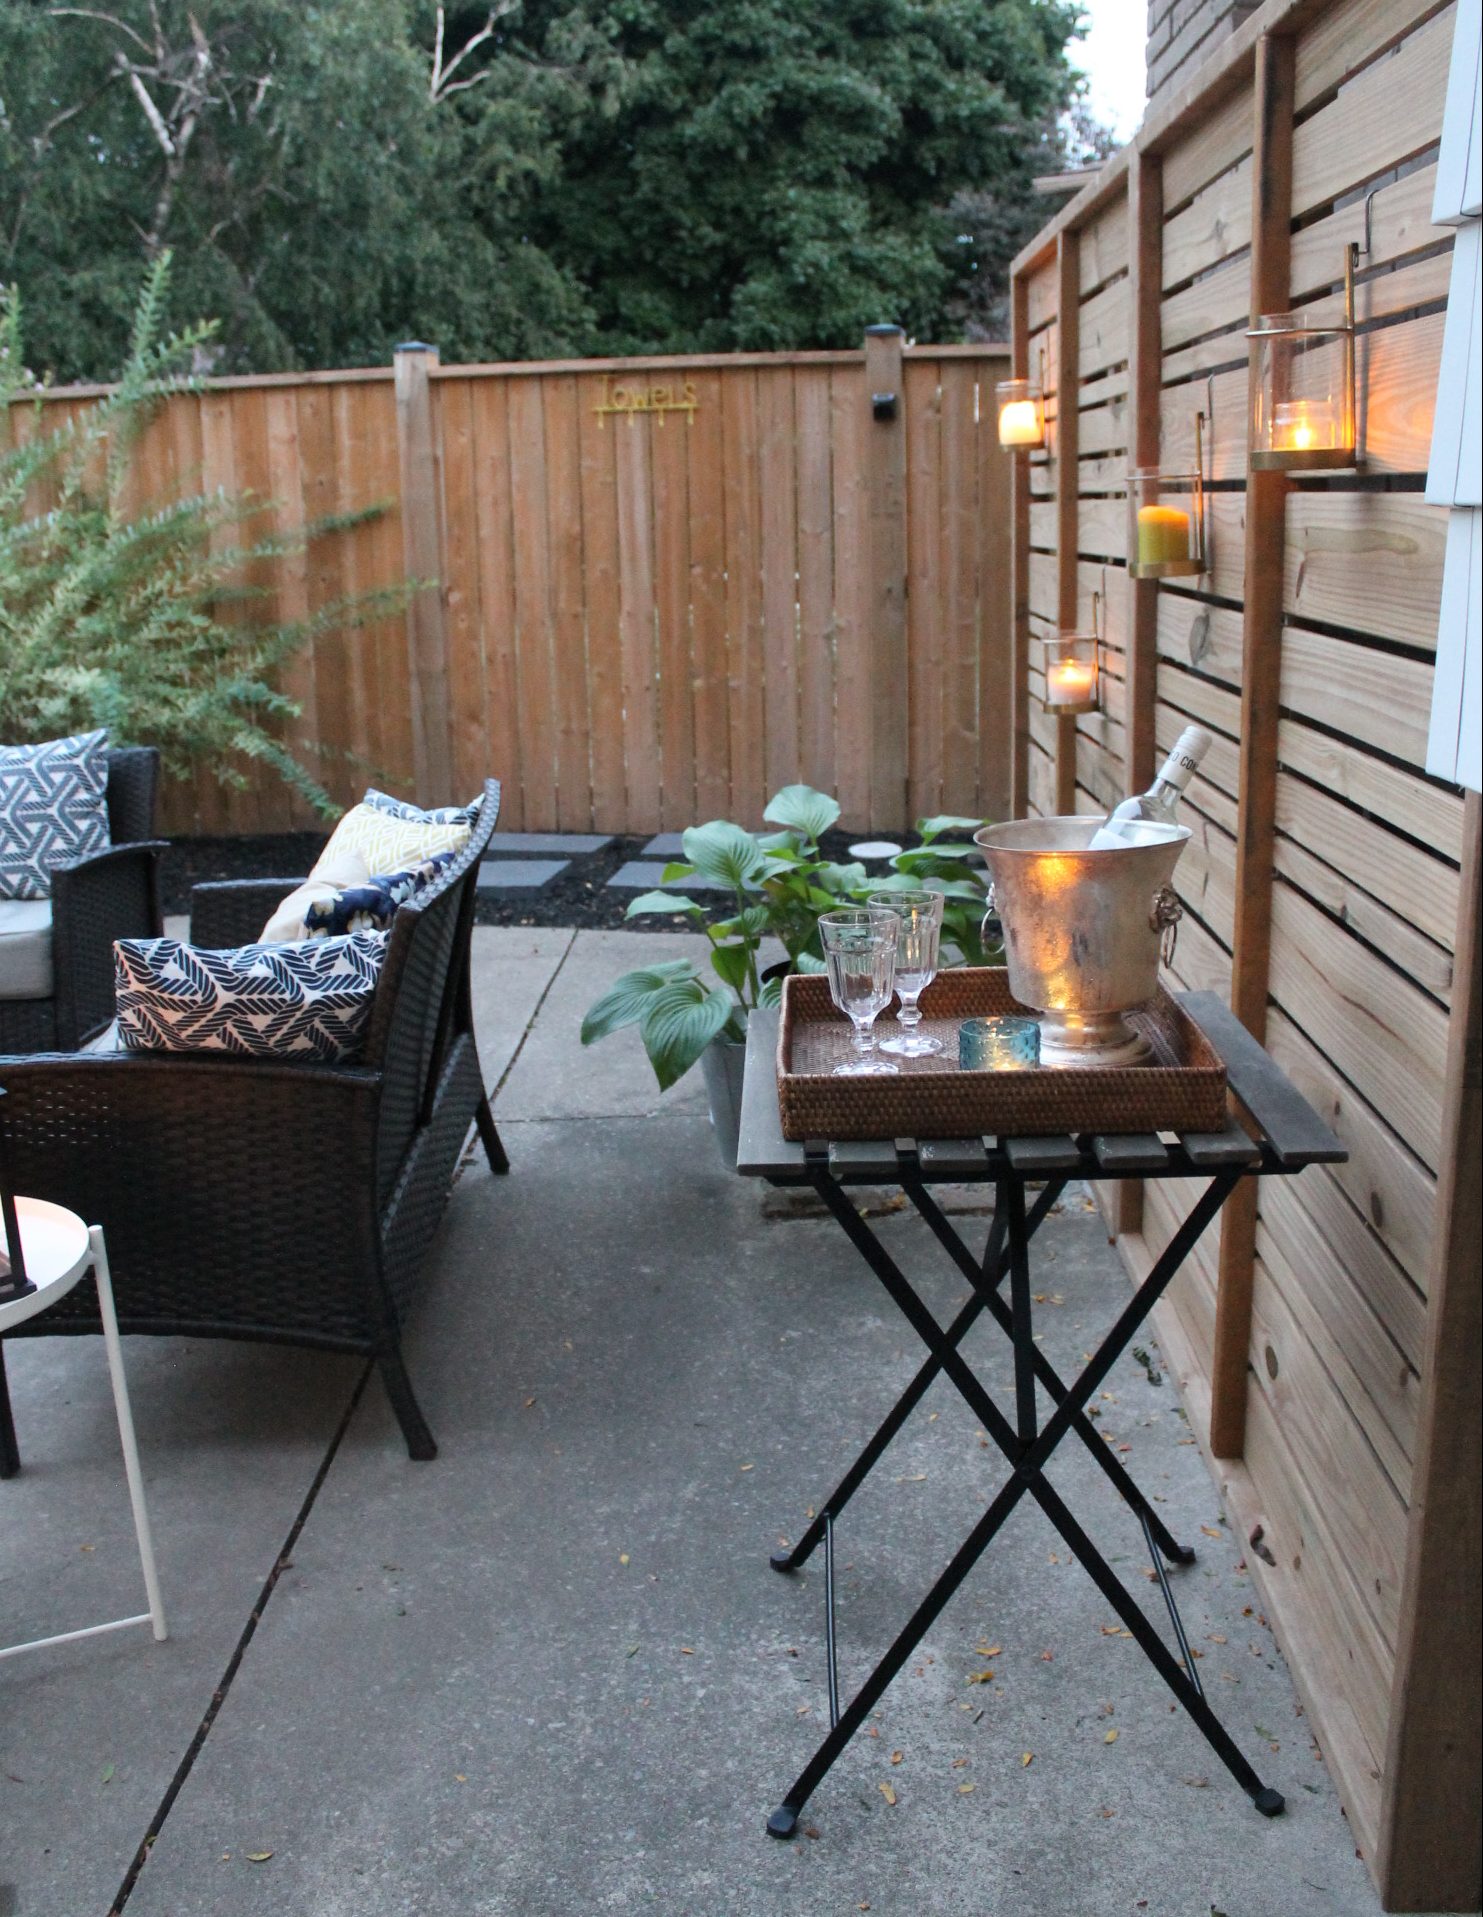
The entire project took half a day to complete and about an hour to install. The best part is that the patio area has become its own cozy destination and will help to extend the season once the pool is closed.